

Design your own sticker as Unique. Choose a good concept and select a design software. Then, ensure your art is very-high-resolution designing.
Designing Own Sticker is a creative way to express your personal style or enhance your business branding. The process involves conceptualizing your sticker design and then bringing it to life using graphic design software like Adobe Illustrator or free tools like Canva.
With the rise of DIY culture and the accessibility of digital tools, creating personalized stickers has become both a popular hobby and a marketing strategy. A well-designed sticker requires a keen eye for detail, an understanding of color theory, and a grasp of typography to effectively communicate your message. As stickers can serve multiple purposes—from promotional material to personal embellishments—it’s important to tailor the design to your specific goals. Moreover, engaging visuals and a clear call to action can transform a simple sticker into a powerful tool for connection and conversation.
Credit: www.barnesandnoble.com
Embracing Creativity In Own Sticker Design
Designing your own sticker is a chance to let your creativity shine. A personal touch turns a simple sticker into a piece of art. It shares your story, humor, or passions in a small, sticky format. Whether for business or pleasure, homemade stickers add a unique flair to your items. Let’s explore how to make stickers that stand out.
Choosing A Theme Or Message
- Identify your purpose: Is the sticker for fun, to promote an event, or make a statement? Start there.
- Pick a theme: Choose something you love. It could be nature, spaceships, or cats wearing hats!
- Create a message: What do you want to say? Make it clear and bold. Your sticker can inspire, inform, or amuse.
Remember, a focused theme or message makes a sticker memorable. Keep it simple for the biggest impact.
Incorporating Personal Style In Sticker Design
Stickers are mini canvases for your personality. Use colors, fonts, and images that represent you. If you adore bright colors, splash them across your design. Love vintage? Go for retro styles. A fan of minimalism? Keep it sleek and simple.
| Personal Style | Sticker Traits |
|---|---|
| Bold | Contrast, vibrant colors |
| Elegant | Fine lines, delicate script fonts |
| Funky | Quirky illustrations, mixed patterns |
A touch of your style makes stickers truly yours. Let your interests, hobbies, and fashion sense shine through.

Credit: www.hinkler.com.au
Tools Of The Trade
Embarking on your sticker design journey begins with the right set of tools. Crafting the perfect sticker is an art form. It requires creativity and the appropriate tools to bring your vision to life. By understanding the tools at your disposal, you can navigate through the process with ease and enjoyment.
Digital Vs. Hand-drawn Methods
There are two main paths to creating your unique Own Sticker: digital and hand-drawn. Each method involves distinct tools and processes.
- Digital design utilizes software, drawing tablets, or apps.
- Hand-drawn creations involve paper, pencils, markers, and scanners.
Exploring both pathways allows for endless creative possibilities. Choose the method that resonates with your personal style.
Software Essentials For Sticker Artists
Selecting the right software makes sticker design simpler and more fun.
| Software Type | Usage |
|---|---|
| Vector Graphics Editors | Creates precise, scalable designs. |
| Pixel-Based Editors | Offers detailed, photo-realistic artworks. |
Here are some software essentials:
- Adobe Illustrator: Ideal for vector art.
- Photoshop: Perfect for intricate designs.
- Procreate: Excellent for iPad users.
- GIMP: A free alternative for photo editing.
Getting comfortable with these tools will enhance your sticker design skills.
Shaping The Visual Elements
Shaping the visual elements is a key step in designing your own sticker. Eye-catching designs start with careful consideration of colors, shapes, and typography. The right combination can turn a simple sticker into a powerful communication tool. Let’s delve into the specifics of crafting your sticker’s visual impact.
Selecting Color Schemes
Colors breathe life into stickers, conveying mood and message.
Choose colors that reflect your brand or purpose. Use a color wheel to find complementary colors. This will make your sticker stand out.
A good practice is to limit your palette. Choose up to three main colors to keep the design cohesive. Bold colors grab attention while softer tones can give a subtle touch.
- Contrast is key for readability.
- Use color psychology to evoke emotions.
- Test your color choice under different lighting.
The Importance Of Typography
Typography is the art of arranging type to make words legible and visually appealing.
The font you choose can tell a story as much as the words themselves. Opt for readability and character to ensure your message is understood.
When selecting a font for your sticker:
- Match the font style with your sticker’s vibe.
- Ensure legibility at various sizes.
- Avoid using too many font styles at once.
Bold headings and simple fonts work best for small items like stickers. They ensure your message is seen, even from a distance.
| Font Style | Use Case | Visibility |
|---|---|---|
| Sans-serif | Modern, clean design | High |
| Serif | Traditional, professional | Medium |
| Script | Artistic, elegant | Low |
Fine-tuning Your Sticker Design
Once you have the basics of your sticker design in place, it’s time to polish it. Fine-tuning your sticker design is critical for creating a professional and impactful look. This involves perfecting composition, layout, size, and cut lines. Follow these tips to make your stickers stand out.
Balancing Composition And Layout
A well-balanced design is pleasing to the eye. To achieve this, start by arranging elements so that the sticker feels stable and harmonious. Use bold colors and shapes judiciously. They should guide the eye, not overwhelm it. Consider the following:
- Place key elements symmetrically or asymmetrically for visual interest.
- Use whitespace effectively – too little can clutter, too much can dilute impact.
- Text hierarchy is crucial; your main message should be the focal point.
Considering Size And Cut Lines
The size of your sticker dictates visibility and utility. Larger stickers grab more attention, while smaller ones might serve as subtle branding. For cut lines:
| Size | Use |
|---|---|
| Large (>4″) | Car bumpers, laptops, storefronts |
| Small (<2″) | Notebooks, phone cases, name tags |
Ensuring proper cut lines is also essential. These lines indicate where your sticker will be trimmed. Be mindful to:
- Include a bleed area, extending the background beyond the cut line.
- Keep critical elements, like text and logos, within the safety line to avoid cutting.
- Review the proof carefully to ensure lines are where they should be.
From Prototype To Production
Your sticker design journey transforms from concept to reality in the prototype to production phase. Crafting your own sticker means making smart choices about printing, materials, and adhesives. These decisions affect quality, durability, and how well the sticker serves its purpose. It starts with selecting the right printing options and then pairing them with the ideal adhesive.
Printing Options For Quality And Durability
High-quality stickers begin with premium printing techniques. Below, explore options that ensure vibrant colors and long-lasting wear.
- Digital Printing: Perfect for complex designs and smaller batches.
- Screen Printing: Offers enhanced durability for outdoor use.
- Offset Printing: Ideal for larger quantities, providing uniform quality.
To ensure your stickers resist fading and wear, consider finishes like:
| Finish Type | Benefits |
|---|---|
| Gloss Lamination | Makes colors pop and protects from moisture. |
| Matte Lamination | Reduces glare and offers a sophisticated look. |
| UV Coating | Provides additional protection from sun damage. |
Adhesive Choices For Different Applications
The right adhesive ensures your sticker stays put where you need it. Match your application with the correct adhesive type:
- Permanent Adhesives: Offer a strong hold for long-term applications.
- Removable Adhesives: Allow for clean removal without residue.
- Repositionable Adhesives: Can be moved and reapplied as needed.
Consider the surface and environmental exposure, as adhesives vary in their resistance to:
- Water,
- critical for outdoor stickers,
- Chemicals,
- important for industrial settings,
- Heat,
- essential for high-temperature areas.
Test multiple prototypes on different surfaces to ensure the best performance of your sticker in its final use.
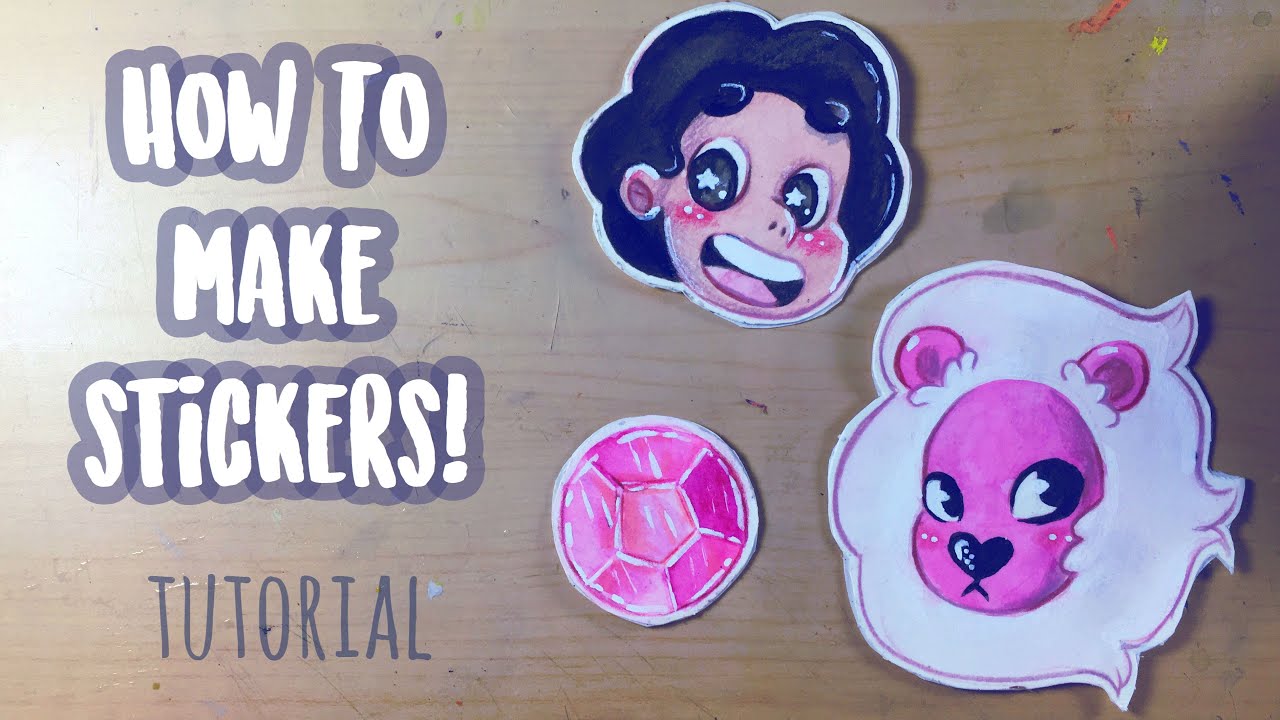
Credit: www.youtube.com
Legalities And Marketing Your Stickers
Creating your own stickers can be fun and rewarding. Yet, you must know the legal side and best ways to sell them. This section goes over important legalities and marketing strategies for your stickers.
Copyrights And Trademarks 101
Sticker design involves creativity, so protecting your work is a must. Copyrights protect your artworks. Trademarks protect brand identifiers like logos. Here’s what you should do:
- Check originality: Make sure your design doesn’t copy existing works.
- Register your work: Consider registering with the copyright office for stronger protection.
- Research trademarks: Avoid using others’ trademarks without permission.
Always give credit if using someone else’s design elements. Seek permission when needed.
Selling Your Designs: Platforms And Tips
Once your stickers are legal to sell, choose the right platform. You can sell on:
| Platform Type | Benefits |
|---|---|
| Online marketplaces (Etsy, eBay) | Large audiences, easy to use |
| Social media (Instagram, Facebook) | Direct engagement with customers |
| Your own website | Full control over sales, branding |
- Use high-quality images: Show off your sticker designs with clear photos.
- SEO: Include relevant keywords in your product descriptions to be found online.
- Customer feedback: Encourage reviews to build trust with new buyers.
Pricing your stickers right is crucial. Factor in production costs, time, and market prices. Promote through social media and word-of-mouth to reach more people. With the correct approach, your sticker business can shine.
Frequently Asked Questions Of How To Design Your Own Sticker
How Can I Design And Make My Own Stickers?
To make your own stickers, choose a design, use sticker paper, print the design with an inkjet or laser printer, and apply a clear adhesive film for added durability. Cut out the stickers using scissors or a craft cutter.
How To Print Your Own Stickers At Home?
Choose the sticker design and software that fits your needs. Purchase sticker paper suitable for your printer type. Print a test page on regular paper to ensure correct alignment. Once satisfied, print the stickers on the sticker paper. Cut out the stickers using scissors or a craft cutter.
How To Make Personalized Label Stickers?
Choose a design tool or software for customization. Select sticker size, shape, and material. Create your design with text, images, and logos. Print using a high-quality printer and sticker paper. Cut the stickers carefully to your desired dimensions.
How Do I Make My Own Stickers For Iphone?
To make your own stickers for iPhone, use the Messages app. Create a new message, tap the App Store icon, and select ‘Sticker Maker’. Design your stickers and save them. Now, share your personalized stickers directly in iMessage conversations.
Conclusion
Crafting personalized stickers is a breeze with the right approach. By harnessing your creativity and following the steps outlined, you’re set to produce striking designs that stand out. Remember, practice refines your skills, so keep designing. Share your vibrant creations and watch your custom stickers make a lasting impression.
Ready, set, design!