

To make DIY stickers with tape, first prepare your sticker design and cover it with clear packing tape. Smooth out any bubbles and then trim the excess tape around the design.
Crafting your own stickers at home is a simple and enjoyable way to personalize items like notebooks, water bottles, and laptops. With just clear tape, some creativity, and a few basic materials that you likely already have, you can start making your custom stickers immediately.
This DIY project is perfect for crafters of any age, giving life to unique designs at a fraction of the cost of store-bought stickers. Securing your designs under clear tape not only protects them but also gives a glossy finish, mimicking the quality of professionally made stickers. Dive into this quick and cost-effective crafting experience that promises personalized touches to your favorite belongings.
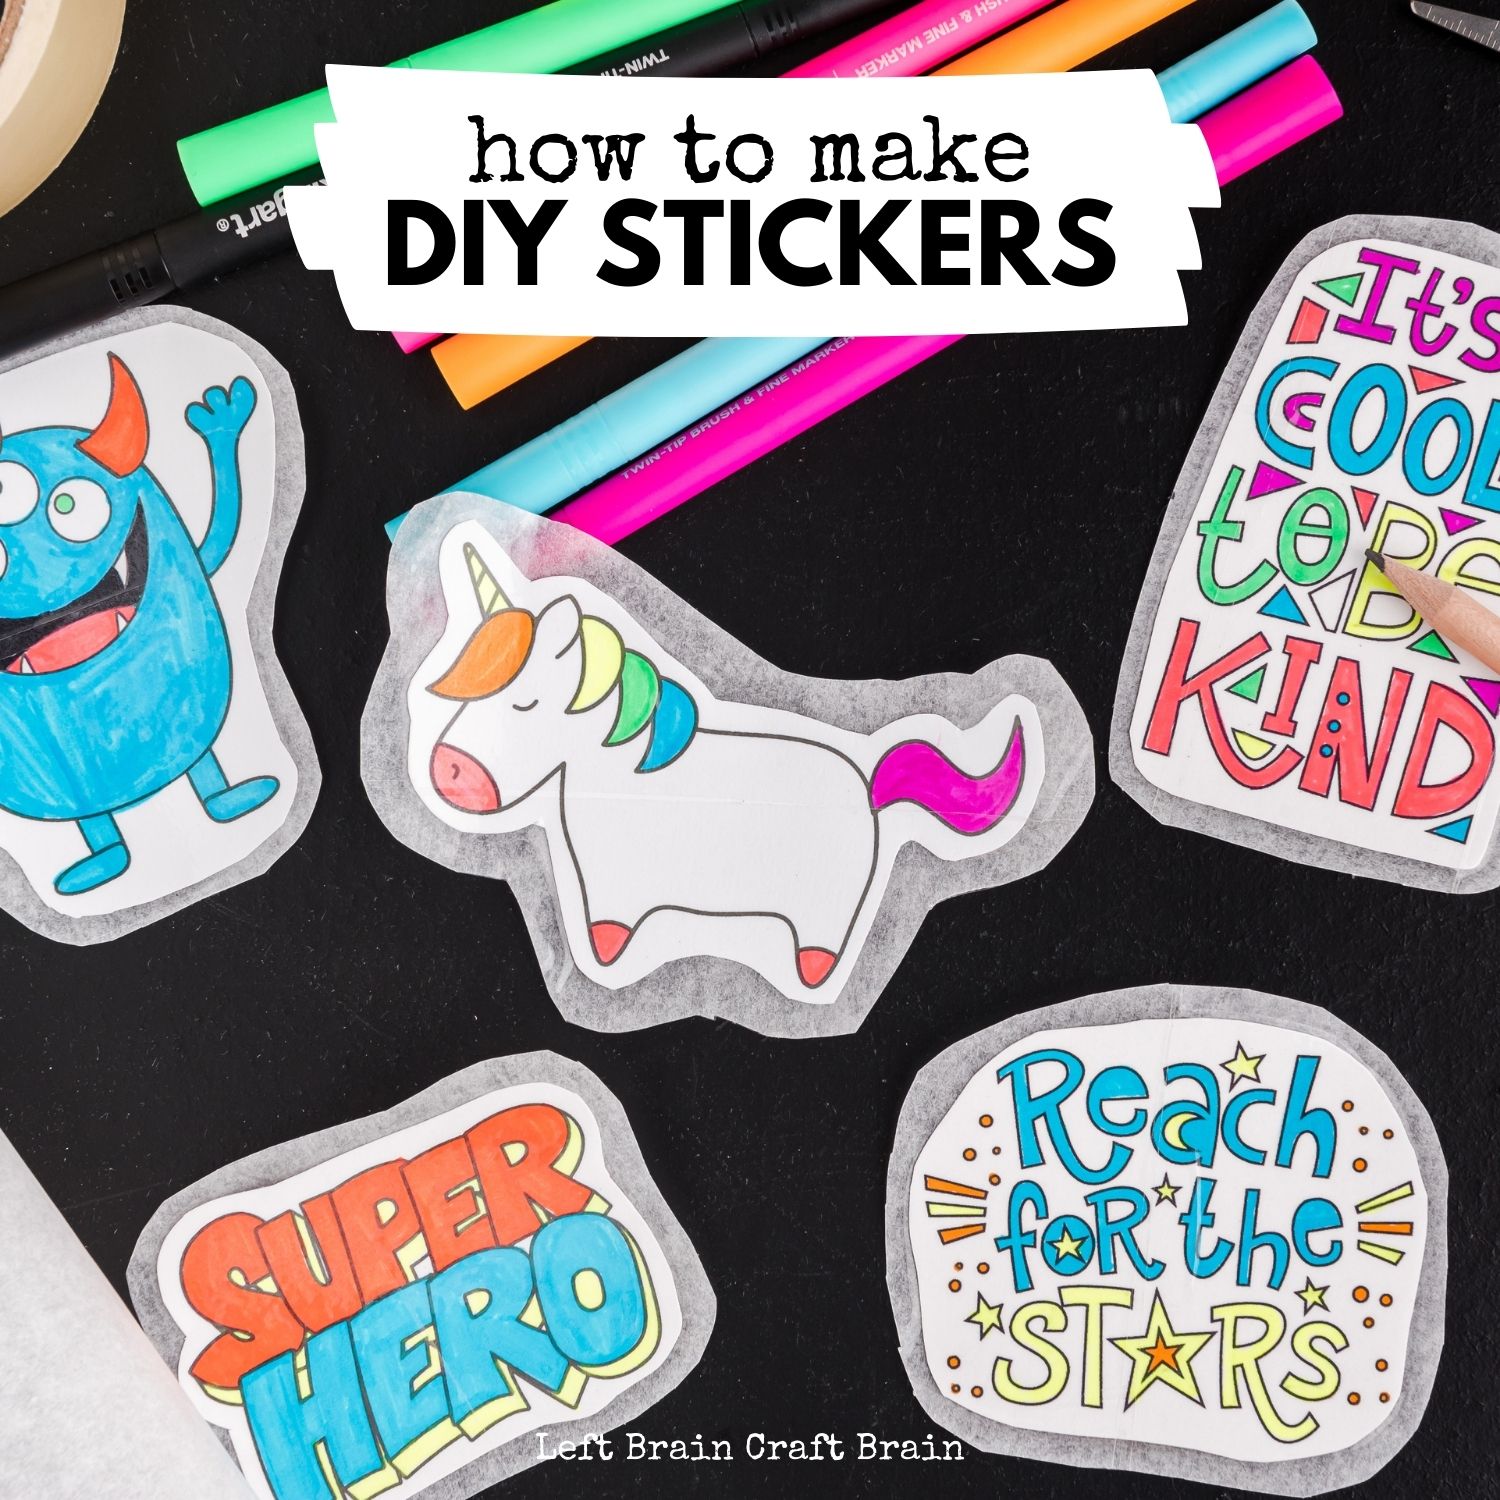
Credit: leftbraincraftbrain.com
Introduction To Diy Stickers
Making DIY stickers with tape is an easy, fun process. You can create custom designs that reflect your style. Personalized stickers show off your creativity on notebooks, water bottles, and more. Crafting your own means you choose the shapes, colors, and sizes you love. Use these stickers for scrapbooking, decorating, or as homemade gifts for friends.
- Cost-effective: Save money by using household items.
- Customization: Make stickers that are uniquely yours.
- Fulfilling hobby: Enjoy the creative process and results.
Several methods exist for sticker-making:
| Method | Materials Needed |
| Tape and Parchment | Packing tape, parchment paper, designs |
| Adhesive Paper | Sticker paper, designs, scissors |
| Wax Paper Method | Wax paper, tape, designs |
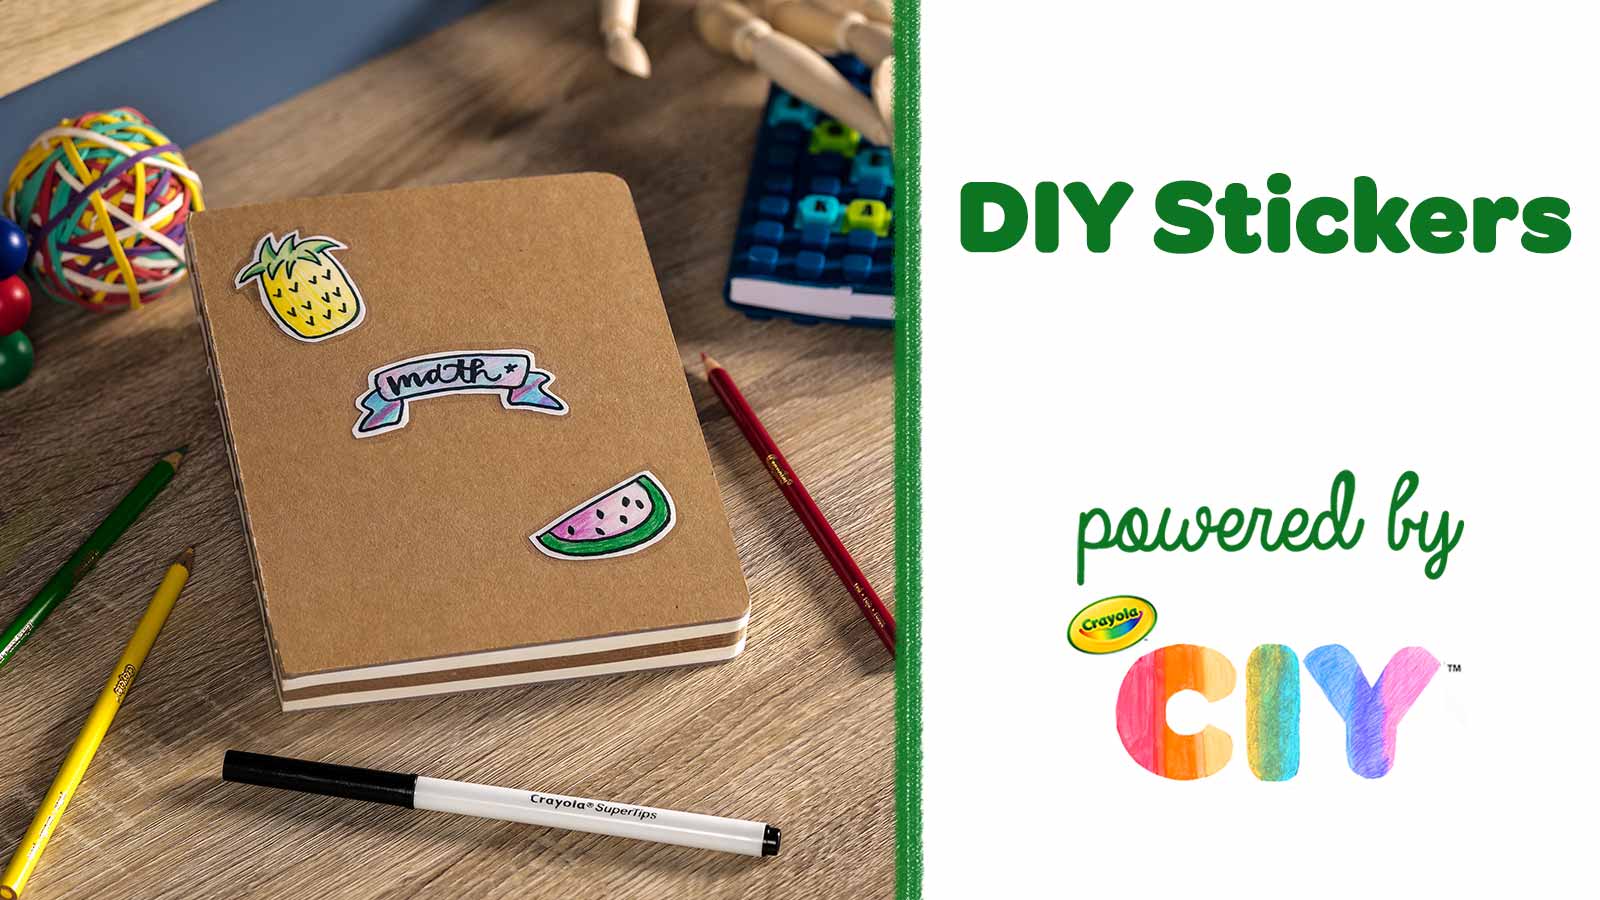
Credit: www.crayola.com
Materials Needed For Tape Stickers
To create DIY stickers, certain basic supplies are essential. Begin with clear packing tape, which acts as the main sticker base. You’ll also need parchment paper for its non-stick surface, and scissors for cutting shapes. Additionally, pick double-sided tape to easily adhere your stickers to surfaces.
Choosing the right tape is crucial. Opt for glossy finish tape for a professional look. It should be strong and sticky but not leave residue. Consider washi or masking tapes for a creative touch.
Don’t forget about alternative materials. For instance, glue sticks can replace double-sided tape. Use gel pens or markers for decoration. They should be permanent, to not smear the ink.
Step-by-step Guide To Making Stickers With Tape
Creating your own stickers is fun and easy with simple supplies! Let’s start with designing your sticker. Use paper to sketch your ideas. Your imagination is the limit!
Next, prepare your tape and surface. Ensure the surface is clean and dry. Place the tape onto the surface smoothly, avoiding any wrinkles or bubbles.
Now it’s time to transfer your design. Place your drawing above the tape. Use a pencil to trace over. The pressure will transfer the pencil lines onto the tape.
Finally, seal and cut out your stickers. Cover your design with another tape layer. Press out any air bubbles. Use scissors to trim around your design, leaving a small border.
- Use clear tape for the best visibility of your design.
- Pick a smooth surface to ensure your sticker sticks well.
- Try different drawing tools for unique effects.
Creative Ideas And Inspirations
Creative ideas spark when you think about special moments and festive times. Birthdays, holidays, and seasons offer endless themes for sticker designs. A summer-themed sticker could have suns and beaches. Christmas stickers shine with trees and stars.
Your own drawings can become unique stickers. Use tape to turn any picture into a sticker. You can stick them on notebooks, cards, or gifts. It’s a fun way to personalize your things.
Showcased DIY tape stickers are just examples of what can be done. Imagine a notebook covered in handmade animal stickers. Or a wall decorated with stickers from your favorite cartoons. Each one tells a story of your creativity.
Maintenance And Usage Of Diy Tape Stickers
Applying your DIY stickers requires a smooth surface. Clean the area with soapy water first. Dry the surface before you place the sticker.
For longevity and care, keep stickers away from sunlight. Don’t let them get wet. Store them in a dry place. Place wax paper between stickers to avoid sticking.
Removing DIY stickers can be easy. Peel them off slowly. Use a hair dryer to warm them if needed. Warm stickers peel off better. To reuse the stickers, attach double-sided tape. Press the sticker onto a new surface firmly.
If stickers lose their stickiness, a glue stick can help. Apply a thin layer to the back. Wait for the glue to become tacky. Then, place it where you want. Remember to always handle stickers with care.
Conclusion And Further Resources
Making DIY stickers with tape is a fun, simple project. Your creativity is the limit as you choose different colors and patterns. Take time to explore and mix various designs. Share your creations with friends or on social media. Connect with others and inspire more artwork.
For those eager to expand their skills, numerous guides are available. Check out videos and blogs for advanced sticker-making techniques. These resources can help you learn new methods like waterproofing or creating die-cut stickers. Push your abilities and potentially sell your stickers online.
Never stop experimenting and developing your craft. Remember to enjoy each step of the sticker-making journey. Keep sharing your stickers and enjoy the smiles they bring.
Credit: www.homedepot.com
Frequently Asked Questions On How To Make Diy Stickers With Tape
What Supplies Do I Need For Diy Tape Stickers?
You’ll need clear packing tape, scissors, designs or images, parchment paper, and optionally, a laminator. Cut out your chosen designs and cover them with tape, pressing down to remove air bubbles.
Can I Print Designs For Homemade Stickers?
Yes, print your designs on paper using a standard inkjet or laser printer. Ensure the ink is dry before applying the clear packing tape over it to avoid smearing the design during the sticker-making process.
How Do I Make My Diy Stickers Last Longer?
To prolong the life of your DIY stickers, consider using a laminator. This adds a durable layer on top of the tape, making them water-resistant and more sturdy. Without a laminator, press firmly and use high-quality tape.
Can I Use Any Paper For Making Tape Stickers?
While you can use any paper, glossy or sticker paper yields the best results. They absorb ink better and give a professional finish to your DIY stickers. Avoid too thin or textured papers, as they may not adhere well.
Conclusion
Crafting DIY stickers with tape is both fun and straightforward. Embrace your creativity and personalize items with flair. Remember, with just simple household supplies, unique, hand-made stickers are at your fingertips. So, gather your materials and let your imagination lead the way to endless sticker-making adventures.