
To make an avatar stick in Marvelous Designer, pin clothing articles to the avatar’s body. Use the program’s pinning tools to secure the fabric at desired points on the avatar.
Creating an avatar in Marvelous Designer that seamlessly integrates with clothing designs is key for realistic garment simulation. This 3D modeling software stands out for its ability to accurately drape fabrics on avatars, offering designers a virtual fitting room experience.
Users benefit from its intuitive interface, which allows for quick and precise adjustments, ensuring clothes fit and move as they would in reality. Mastering the pinning technique can significantly enhance the realism of your fashion projects, making your digital designs nearly indistinguishable from physical clothing. Perfect for fashion designers and 3D artists, Marvelous Designer’s toolset empowers creators to bring their visions to life with remarkable authenticity and detail.
Introduction To Marvelous Designer
Marvelous Designer is a cutting-edge software that breathes life into digital clothing design. This innovative tool allows both beginner and professional designers to craft stunning 3D virtual clothing with astonishing realism and complex detail. It’s an essential asset for game developers, fashion designers, and CGI artists striving to create authentic wardrobe simulations.
Key Features For Avatar Creation
Marvelous Designer boasts powerful features to streamline avatar creation:
- 3D Draping – Witness fabric conform to your avatar’s shape in real-time.
- Pattern Design – Create intricate patterns with intuitive drawing tools.
- Robust Compatibility – Works seamlessly with popular 3D modeling software.
- Animation – Animate your designs to see them in action.
- Modular Mode – Simplify the design process with modular clothing elements.
Pre-requisites For Making An Avatar Stick
To ensure your avatar adheres perfectly in Marvelous Designer, prepare the following:
- Updated Software – Install the latest version of Marvelous Designer.
- Compatible Model – Use an avatar compatible with the software’s guidelines.
- Avatar Scale – Ensure the avatar’s scale matches the clothing dimensions.
- Clean Topology – A clean mesh helps garments lay correctly.
- Proper Import – Import your avatar correctly to prevent issues.
Credit: www.reddit.com
Setting Up The Avatar
Entering the virtual fashion world starts with an avatar. A well-setup avatar is key to realistic garment simulation. This section walks through importing a 3D model and adjusting its pose and scale. Let’s make your designs come to life in Marvelous Designer!
Importing A 3d Model
Creating stunning outfits begins with bringing your character into the workspace. Follow these steps to import your avatar:
- Open Marvelous Designer.
- Click on the Import button in the menu.
- Select ‘Avatar’ from the dropdown.
- Browse and select your 3D model file (OBJ or FBX).
- Click on ‘Open’ to import the avatar.
Your model now stands ready for outfitting!
Adjusting Avatar Pose And Scale
Your avatar’s pose and size are crucial for a perfect fit. Use these tips to adjust your model:
- Navigate to the Avatar tab.
- Find the Property Editor for pose settings.
- To resize, select the ‘Transform’ tool.
- Click and drag on the points to scale the avatar.
Tip: Keep the proportions realistic for best results. Prepare for clothing that drapes and moves naturally on your avatar.
Utilizing The Pinning Feature
Creating lifelike garments in Marvelous Designer becomes more efficient with the pinning feature. Pins in Marvelous Designer act like digital sewing pins. They secure fabric to avatars in specific positions. This method simulates real-life garment fitting.
Pinning Garments To Avatars
To make a garment stick to an avatar, pinning proves essential. In the 3D window:
- Select the ‘Pin’ tool from the toolbar.
- Click on the garment area you want to fix to the avatar.
- Drag the pin onto the avatar’s body where it should stick.
Pins will hold the fabric in place. You can now adjust other parts, ensuring a snug fit.
Controlling Pin Strength And Placement
Pinning is not just about attaching fabric, but also about defining its behavior. After pinning:
- Right-click the pin for a context menu.
- Adjust the ‘Strength’ slider to control hold intensity.
This prevents unwanted draping and maintains the intended silhouette.
Head to the ‘Property Editor’ for more adjustments. Here, you can precisely position pins using the X, Y, Z values. This ensures the exact placement of your garment.
| Feature | Description | Benefit |
|---|---|---|
| Pin Strength | Defines how tightly the pin grasps the fabric | Enhances the garment’s fit and form |
| Pin Placement | Exact positional control over pins | Ensures precise draping and wrinkles |
Remember to regularly simulate your design. This ensures pins are securing the garment as intended. Make adjustments as needed for an impeccable fit.

Credit: support.marvelousdesigner.com
Working With Fabrics And Layers
‘Working with Fabrics and Layers’ is a crafty exercise in Marvelous Designer. It demands attention to detail. To create an avatar that stands out, grasping fabric properties and layering is key. Designers mimic real-world clothing through digital means. Let’s dive in and unfold these layers one by one to dress our avatars fashionably.
Choosing Appropriate Fabric Properties
Fabric choice is more than just visual appeal. It affects an avatar’s movement and drape. Marvelous Designer offers a range of fabric types. Pick properties that suit the garment design.
- Weight – Heavier for coats, lighter for silk.
- Stretch – Less for denim, more for knitwear.
- Bending – Stiff for armor, soft for cotton shirts.
Select a fabric that matches the desired outfit. Test fabric simulations to ensure accuracy.
Layering Clothes For A Realistic Effect
Clothes layering is vital for realism. Marvelous Designer excels in simulating how clothes behave in layers.
| Layer | Description | Example |
|---|---|---|
| Base | The first layer, closest to the avatar’s skin | Undergarments, tights |
| Mid | The middle layer for added texture and warmth | T-shirts, shirts |
| Top | Topmost layer, exposed to the environment | Jackets, coats |
Ensure the order of layers aligns with the way real clothes pile up. Adjust the layer values within the program for a natural look.
Simulating And Adjusting The Fit
Creating the perfect digital garment in Marvelous Designer begins with simulation. It’s like a virtual fitting room. Here, artists mold clothing to a 3D avatar. To ensure a snug fit, simulation and adjustment are key. Let’s dive into how to make avatars and garments work together seamlessly.
Running Simulations To Test Fit
Once your garment’s initial design is ready, it’s time to bring it to life. Click the ‘Simulate’ button (the one that looks like a play icon) to see how your clothing settles on the avatar. Watch closely as fabric folds and drapes form. This will show where tweaks are needed.
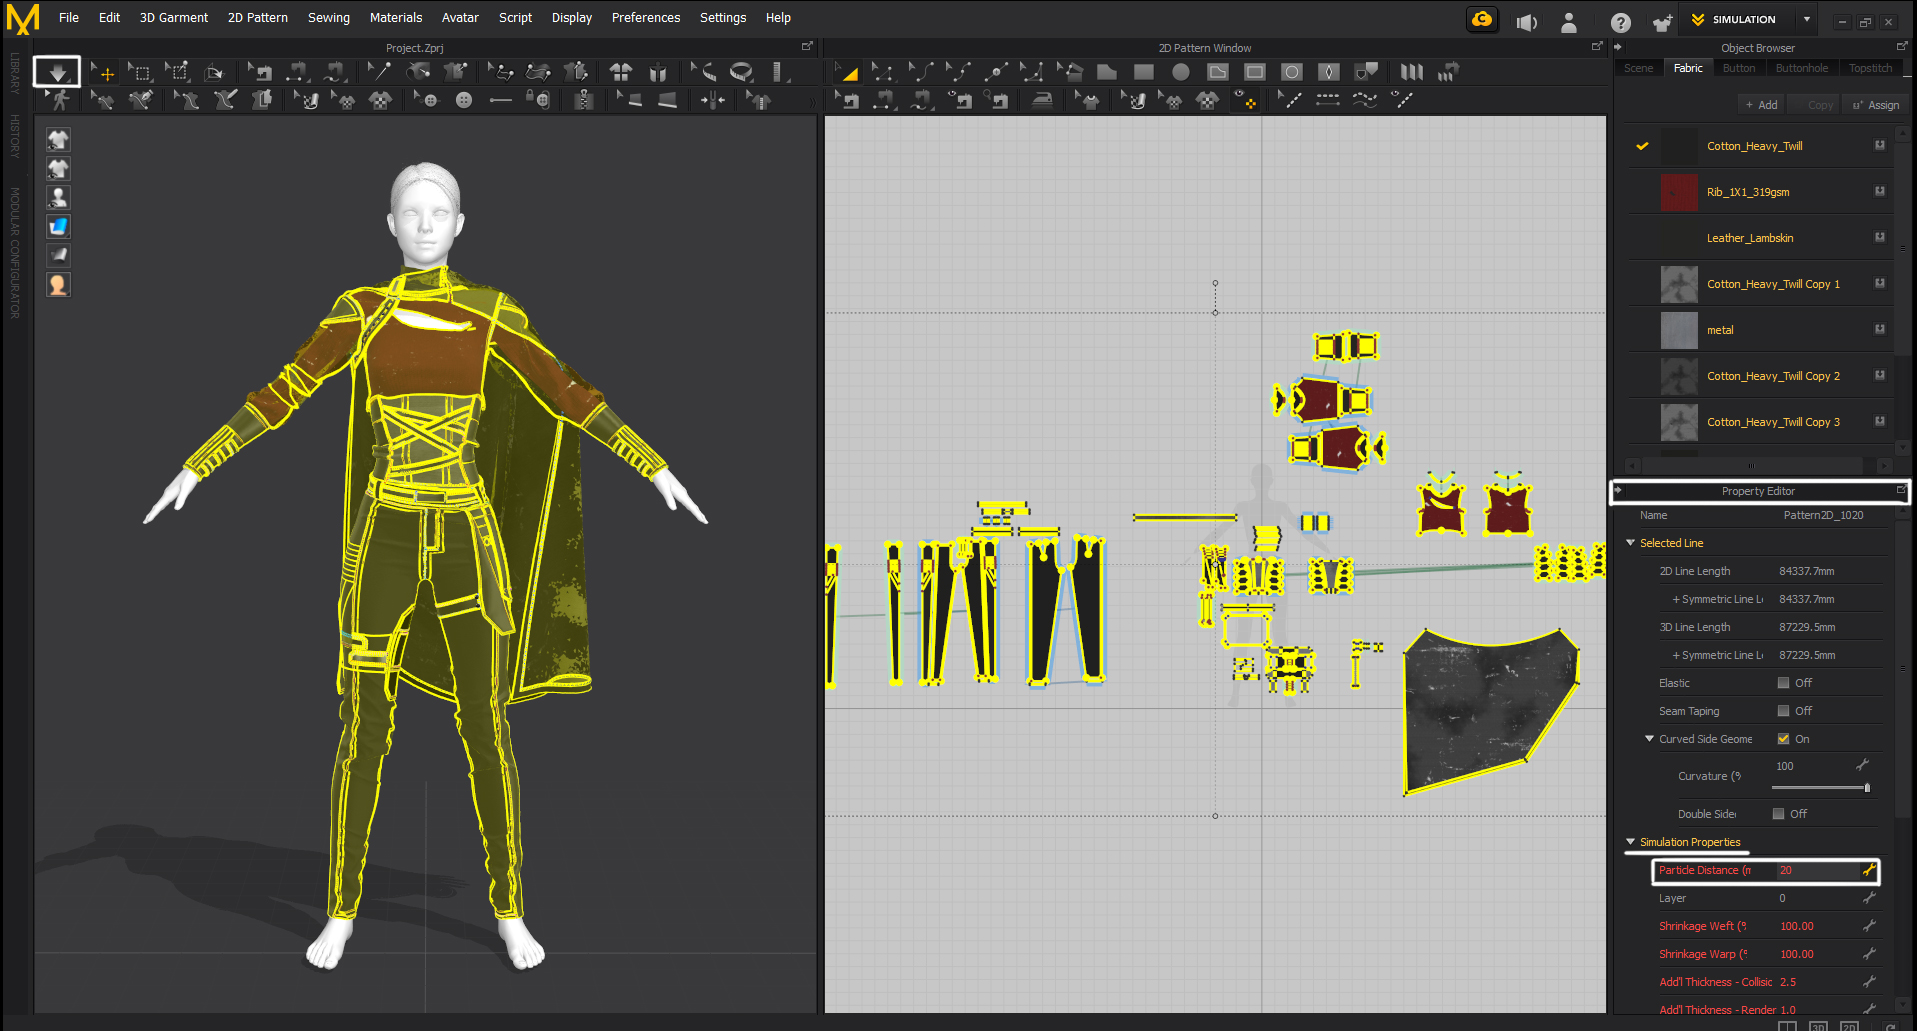
- Begin with the ‘default’ fabric settings.
- Adjust particle distance for quality and speed balance.
- Keep an eye on areas of high tension or loose fit.
In areas where the garment looks off, pause the simulation. Adjust pins or tack on to the avatar for a better fit. Use ‘Freeze’ to lock sections in place.
Fine-tuning The Garment For The Avatar
Now the real magic happens. You have the basics, but a great fit requires a keen eye for detail. Work step by step, adjusting the garment’s properties and shape.
| Step | Action | Goal |
|---|---|---|
| 1 | Modify seam lines | Improve overall silhouette |
| 2 | Use the ‘Edit Pattern’ tool | Refine the fit of individual pieces |
| 3 | Adjust fabric physical properties | Achieve realistic drape and movement |
Remember to iterate. Run simulations after each adjustment. This ensures changes work well. Sometimes, small edits impact the entire piece. Keep the simulation going until the fit is just right for your avatar.
- Zoom in to inspect fit closely.
- Correct any folding or pulling.
- Seek a natural and relaxed drape.
After adjustments, admire your impeccably fitting garment. It should look natural, as though it was tailored for your avatar. These steps empower you to create true-to-life digital clothing with confidence.
Troubleshooting Common Issues
Working with Marvelous Designer can sometimes feel like magic. Yet, even the most spellbinding software has its quirks. Users often encounter pesky problems like floating or sinking cloth when trying to make an avatar stick. Let’s troubleshoot these common issues step-by-step to ensure a seamless design process.
Dealing With Floating Or Sinking Cloth
Floating or sinking cloth in Marvelous Designer can disrupt your workflow. To fix it, follow these tips:
- Check gravity settings in the simulation properties.
- Adjust the particle distance for the cloth to increase or decrease resolution.
- Ensure the cloth layer settings are correct to prevent clipping.
Still experiencing issues? Reset the avatar and start the simulation anew. Cloth should now drape naturally without floating away or sinking through the avatar.
Ensuring Longevity Of The Stick Effect
Keeping cloth stuck to an avatar requires attention to detail. Here is what to do:
- Use the ‘Tack’ or ‘Tack on Avatar’ tools to secure cloth.
- Apply a small amount of ‘Pressure’ to the cloth piece if needed.
- Check your simulation settings for both the cloth and the avatar.
Remember to save your garment frequently. This makes sure your stick effect persists throughout your design process.
Credit: www.linodriegheart.com
Frequently Asked Questions For How Do I Make An Avatar Sticking In Marvelous Designer
How Do You Add An Avatar To Marvelous Designer?
Open Marvelous Designer and select ‘File’ from the top menu. Choose ‘Import’ and click ‘Avatar’. Navigate to your file, select it, and press ‘Open’ to add your avatar to the workspace.
How Do You Scale An Avatar In Marvelous Designer?
To scale an avatar in Marvelous Designer, select the ‘Avatar’ tool, click your avatar, choose the ‘Transform’ pattern, then adjust the scale value directly in the properties window or use the gizmo to resize.
How Do You Pose A Character In Marvelous Designer?
To pose a character in Marvelous Designer, select the Avatar, use the Transform Pattern tool to move limbs, and edit the pose in the Property Editor or through direct manipulation. Always save poses for future use.
How Do You Pin In Marvelous Designer?
To pin in Marvelous Designer, select the Pin tool, then click on the garment area you wish to secure. This action attaches the fabric to the avatar or background.
Conclusion
Creating a successful avatar in Marvelous Designer enhances your 3D modeling experience. By following the tips outlined in this guide, your avatar will remain fixed and ready for design. Master these techniques and your future projects will shine. Dare to push the limits of your creativity—start designing with confidence now!