

To create a sticker design in Photoshop, start by opening a new document and using the Pen Tool or Shape layers. Customize your design with colors, gradients, and text as desired.
Crafting a sticker design in Photoshop can unleash your creativity and offer a fun way to express individual style. This versatile program allows designers to experiment with various tools and effects to produce eye-catching stickers. Whether you’re aiming to personalize your laptop or design merchandise for your brand, mastering sticker creation is an essential skill.
With a straightforward interface and a plethora of design options, Photoshop makes the transition from concept to digital reality seamless. Engaging designs stem from a blend of imagination and software proficiency, making Photoshop an ideal choice for designers looking to make their mark with custom stickers.
The Essentials Of Sticker Design
Transforming an idea into a tangible sticker design in Photoshop requires planning and attention to detail. Below are vital steps to create eye-catching stickers that stand out. Follow these guidelines to ensure your designs pop off the page and stick in people’s minds!
Choosing The Right Dimensions
Starting with the right size is crucial for your sticker design. Think about where the sticker will go. Small stickers work well for phones and notebooks. Larger stickers are great for laptops and car bumpers.
- Standard sizes range from 2×2 inches to 12×12 inches.
- Custom sizes are also an option if you want a unique shape.
After picking a size, remember to add a bleed area. This extra space helps prevent important parts from getting cut off during printing.
Setting Up Your Canvas
In Photoshop, create a new file for your design. Fill in the dimensions you chose, including the bleed area. Pick a color mode based on how you will print your stickers.
| Printing Method | Color Mode |
|---|---|
| Professional printer | CMYK |
| Home printer | RGB |
Setting up layers keeps your work organized. Lock the background layer to prevent accidental changes.
Understanding Resolution And Quality
High resolution ensures your stickers look sharp. Aim for a resolution of 300 DPI (dots per inch). Less than that can make designs look blurry or pixelated.
- Go to Image Settings in Photoshop.
- Enter 300 in the DPI box.
- Check that the dimensions are still correct.
- Save your file with these settings.
For quality, choose the right file format. Save as PNG or TIFF for the best results. These formats support high-quality printing without losing details.
Creating Your Design Concept
Kicking off a sticker design project in Photoshop begins with a robust concept stage. Crafting the perfect sticker involves imagination, style, and attention to detail. The journey from a seed of an idea to a digital masterpiece requires thoughtful steps: brainstorming, sketching, and color selection. Let’s begin turning that idea into a visual treat!
Brainstorming Ideas
Every great sticker design starts with brainstorming sessions. Find inspiration in daily life, art, or online galleries. Jot down every thought. No idea is too big or small. Use bullet points to list potential ideas:
- Pop culture themes: Characters or slogans that spark joy.
- Nature motifs: From lush green forests to ocean waves.
- Funny phrases: Humor connects people universally.
Sketching Drafts
Once you have ideas, begin sketching drafts. Start with rough outlines. Use a simple grid table to compare versions.
| Version | Concept | Notes |
|---|---|---|
| 1 | Cute cat | Needs more attitude |
| 2 | Alien spaceship | Add more stars for context |
Selecting A Color Palette
Colors evoke emotions. Choose wisely. Use bold text for each step in the color selection process:
- Determine the mood: Happy, serene, or energetic?
- Research trends: What’s hot in the design world?
- Test combinations: Mix and match until it feels right.
Tools like Adobe Color help craft the perfect palette. Finalize colors before moving into Photoshop.
Photoshop Tools And Features For Stickers
Creativity meets simplicity in Adobe Photoshop, the perfect software to design stickers. Explore the array of tools and features designed to add punch to your sticker designs. From precise organization to dynamic textures, Photoshop empowers designers to craft with confidence. Below are the essentials for sticker creation. Let’s dive in.
Utilizing Layers For Organization
Layers work as building blocks in Photoshop. They let you separate each element of your sticker. This means you can adjust one part without changing another. Layers keep your work tidy and easy to edit.
- Add a new layer: Click the ‘New Layer’ icon in the Layers panel.
- Rename your layers for easy identification.
- Lock layers to prevent accidental changes.
- Use the ‘Eye’ icon to hide/show layers quickly.
- Remember, moving a layer up or down changes its visibility order.
Custom Shapes And Path Tools
The Custom Shape Tool provides ready-made shapes to use in your sticker designs. With the Path Tools, create unique custom shapes. No need for complex drawings. Drag. Click. Release. It’s that easy!
- Access the Shape Tool from the Photoshop toolbar.
- Choose from predefined shapes or draw your own.
- Modify shapes with the Direct Selection Tool.
Applying Textures And Effects
Textures and effects give life to your stickers. They turn flat images into eye-catching designs. Think of them as the special sauce in your sticker recipe. Use these tools to help your stickers stick out!
- Layer Styles: Add shadows, glows, or bevels easily.
- Gradients and Patterns: Fill shapes for added dimension.
- Filters: Transform textures with just a click.
- Explore Blending Modes to mix layers creatively.
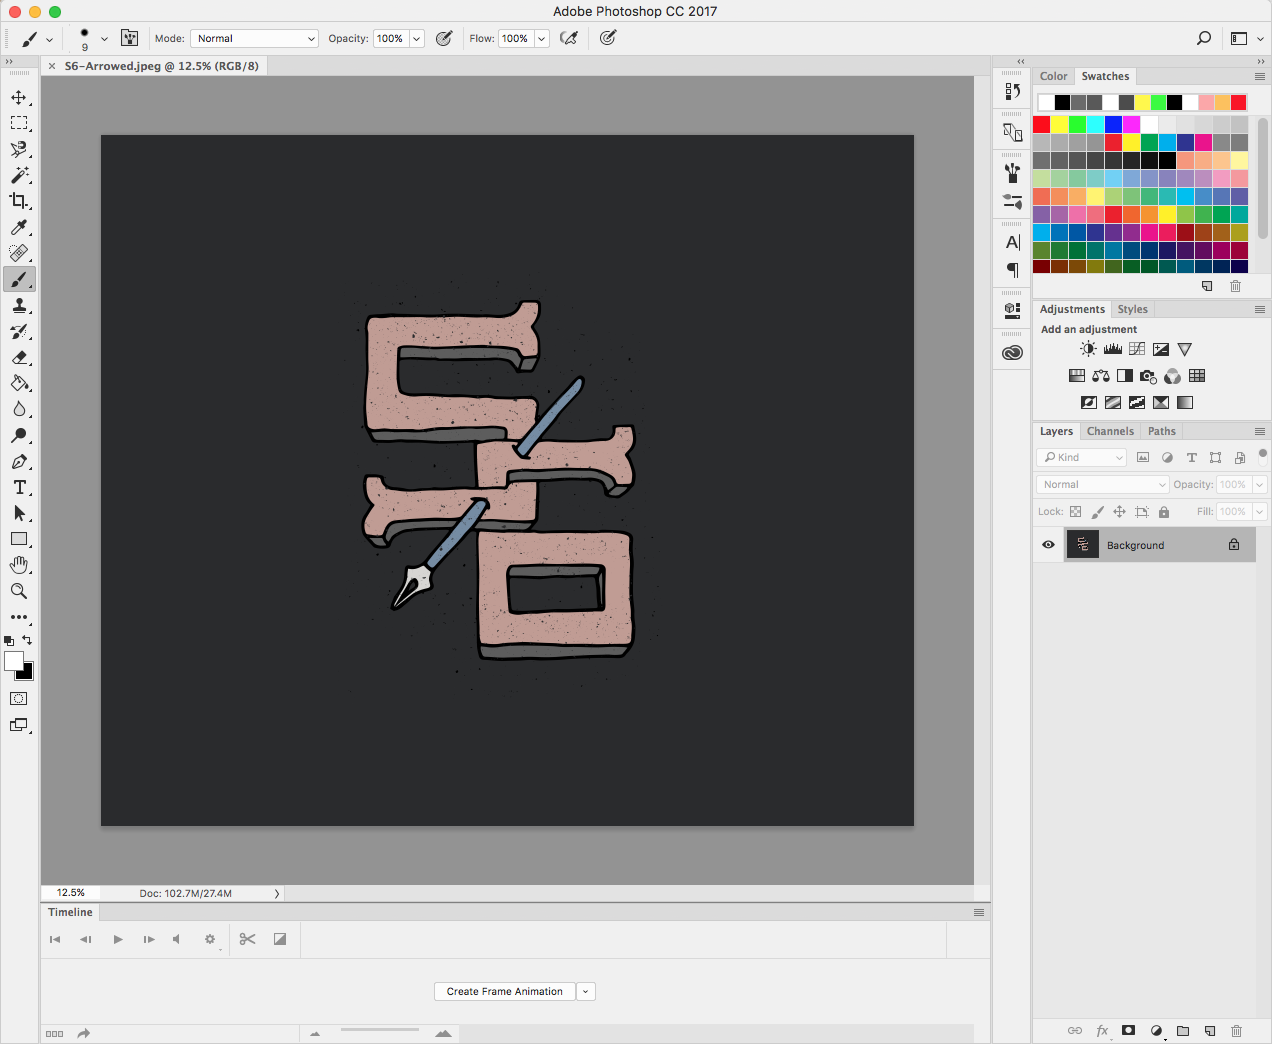
Credit: blog.society6.com
Finalizing The Sticker Design
Finalizing the Sticker Design is a crucial step in the sticker-making process. With your creative design almost ready in Photoshop, it’s vital to polish it to perfection. Refine the details, adjust colors, increase contrast, and prepare the design for printing to ensure your sticker looks stunning in the physical world.
Refining Edges And Details
Crisp edges and clear details make your sticker stand out. Follow these tips:
- Zoom in on your design and use the Eraser Tool to clean any stray pixels.
- Check the edges with the Smudge Tool for a smoother outline.
- Apply the Stroke effect if it fits your design style. This outlines the sticker shape.
Adjusting Colors And Contrast
Make your stickers pop:
- Open the Adjustments panel.
- Select Levels or Curves to adjust brightness and contrast.
- Use Hue/Saturation sliders to make colors vibrant.
Always consider the final print results. Printed colors may differ from your screen display.
Preparing For Printing
Your sticker design looks great on screen. Let’s prepare it for printing.
| Action | Description |
|---|---|
| Resolution | Set to 300 DPI for high-quality prints. |
| Color Mode | Switch to CMYK for accurate print colors. |
| Bleed Area | Add a margin around your design. This prevents important elements from being cut off. |
| Export Format | Save as PDF with Press Quality preset. |
Check with your printer for specific file requirements. This ensures the best sticker quality.
Exporting And Printing Tips
Welcome to the crucial steps of exporting and printing your sticker designs in Photoshop. Creating your sticker design is just part of the journey; ensuring your design translates flawlessly from digital to print form is key. This section will guide you through the process of preparing your stickers for print with precision and ease. Simple steps can make a big difference in the final quality of your stickers.
Choosing The Correct File Format
Photoshop offers a variety of file formats suitable for printing. For stickers, the PNG or TIFF formats are ideal. These formats maintain high-quality details and support transparency. Ensure to select ‘Save As’ and choose either PNG or TIFF to preserve the quality of your design.
Ensuring Proper Bleed And Margins
Accuracy is essential when setting up bleed and margins for your stickers. Extend your background to 1/8 inch (3mm) beyond the final cut size for the bleed. Margins, or the safe zone, should be at least 1/8 inch (3mm) from the edge of the cut line. This ensures no critical design elements are cut off during the printing process.
Selecting The Right Sticker Paper
- Matte paper works best for vibrant, non-reflective stickers.
- Glossy paper is ideal for stickers with photos or detailed graphics.
- Vinyl paper is used for outdoor stickers as it’s waterproof and durable.
Check your printer’s specifications to ensure compatibility with sticker paper. Many printers have preferred paper types to achieve optimal results.
| Paper Type | Use Case | Benefits |
|---|---|---|
| Matte | Everyday stickers, not exposed to water | Non-reflective, elegant finish |
| Glossy | Photo or vibrant graphic stickers | High shine, enhances colors |
| Vinyl | Outdoor or waterproof stickers | Strong, withstands elements |
To conclude the exporting and printing process, always perform a test print on regular paper before printing on sticker paper. Adjust your printer’s settings to the highest quality and ensure color correctness. Align your printable sticker paper correctly and choose the ‘label’ or ‘thick paper’ setting if available. Finally, let your stickers dry completely to avoid smearing, for a stunning and professional result.
Credit: www.youtube.com
Beyond Photoshop: Additional Considerations
Creating sticker designs in Photoshop is just the start. To bring your vision to life, you need to consider some important steps that go beyond your design software.
Licensing Artwork And Fonts
Choosing the right visuals and typography is key to a sticker that stands out. Always ensure you have the right to use the imagery and fonts in your design. Here’s what to keep in mind:
- Check licenses for all images and fonts.
- Use royalty-free assets or purchase necessary licenses.
- Avoid legal issues with proper artwork attribution.
Protecting Your Design
Once you’ve created your sticker design, protecting it is crucial. Here’s how you can keep your design safe:
- Watermark your digital designs.
- Understand copyright laws.
- Consider registering your design for full protection.
Finding A Professional Printer
Selecting the right printer makes all the difference. Ensure top quality stickers with these tips:
- Look for printers with good reviews and samples.
- Ask about the quality of materials used.
- Request a sample print to check colors and quality.
- Discuss size options and cutting precision.

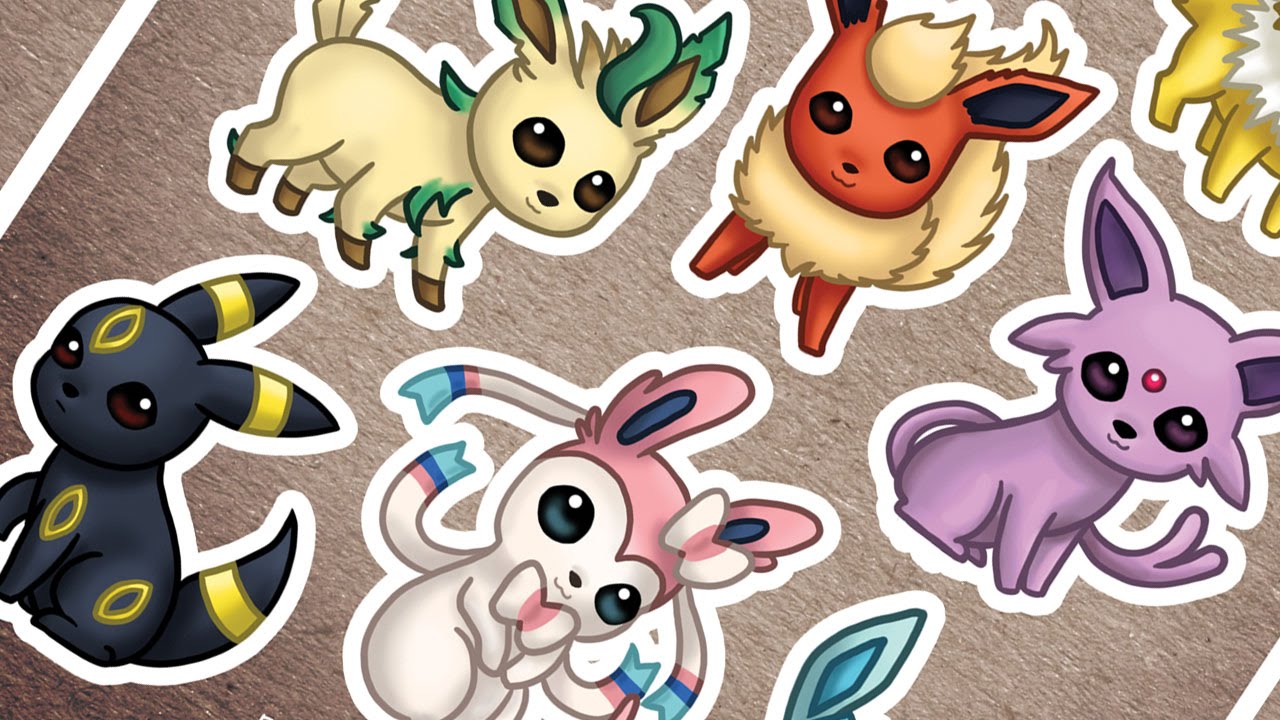
Credit: designbundles.net
Frequently Asked Questions Of How To Make A Sticker Design In Photoshop
How To Make Your Own Sticker Designs?
Select a design software or app, such as Adobe Illustrator or Canva. Create or upload your artwork. Customize using text, shapes, and colors. Resize to preferred dimensions. Save your design in a high-quality format like PNG or PDF, ready for printing.
How Do I Make A Sticker Mockup In Photoshop?
Open Photoshop and choose your sticker design image. Place it onto a preferred background layer. Use the Warp tool to adjust the perspective for a realistic look. Finally, apply shadows or effects to enhance the mockup’s authenticity. Save your sticker mockup image.
How Do I Turn A Picture Into A Sticker?
To turn a picture into a sticker, use a photo editing app or an online sticker maker. Upload your image, add any desired customizations, then print on adhesive paper. Trim the edges to complete your sticker.
What Adobe Program Is Best For Making Stickers?
Adobe Illustrator is the best program for creating high-quality stickers due to its advanced vector tools, which ensure crisp and scalable designs suitable for printing.
Conclusion
Crafting stickers in Photoshop can seem daunting, but with the right steps, it’s straightforward. We’ve navigated through the creative process, equipping you with the necessary tools and techniques to bring your unique sticker designs to life. Remember to experiment with colors, textures, and shapes to infuse your personal touch.
Now, it’s your turn to enchant the world with your custom sticker creations. Happy designing!