

To make DIY stickers, simply design your artwork, print it onto sticker paper, and cut out the stickers. Choose strong adhesive paper and a good quality printer for best results.
Crafting your own stickers at home is both an enjoyable and creative pursuit, enabling you to personalize items with your unique designs or text. Whether you’re aiming to customize your stationery, embellish scrapbooks, or give a homemade touch to your belongings, DIY stickers offer a fun and versatile way to express your creativity.
With materials easily available at craft stores or online, you can transform your digital designs into tangible, sticky creations that adhere to a multitude of surfaces. This hands-on activity is not only satisfying but also simple to execute, making it a perfect project for DIY enthusiasts of all ages.

Credit: acountrygirlslife.com
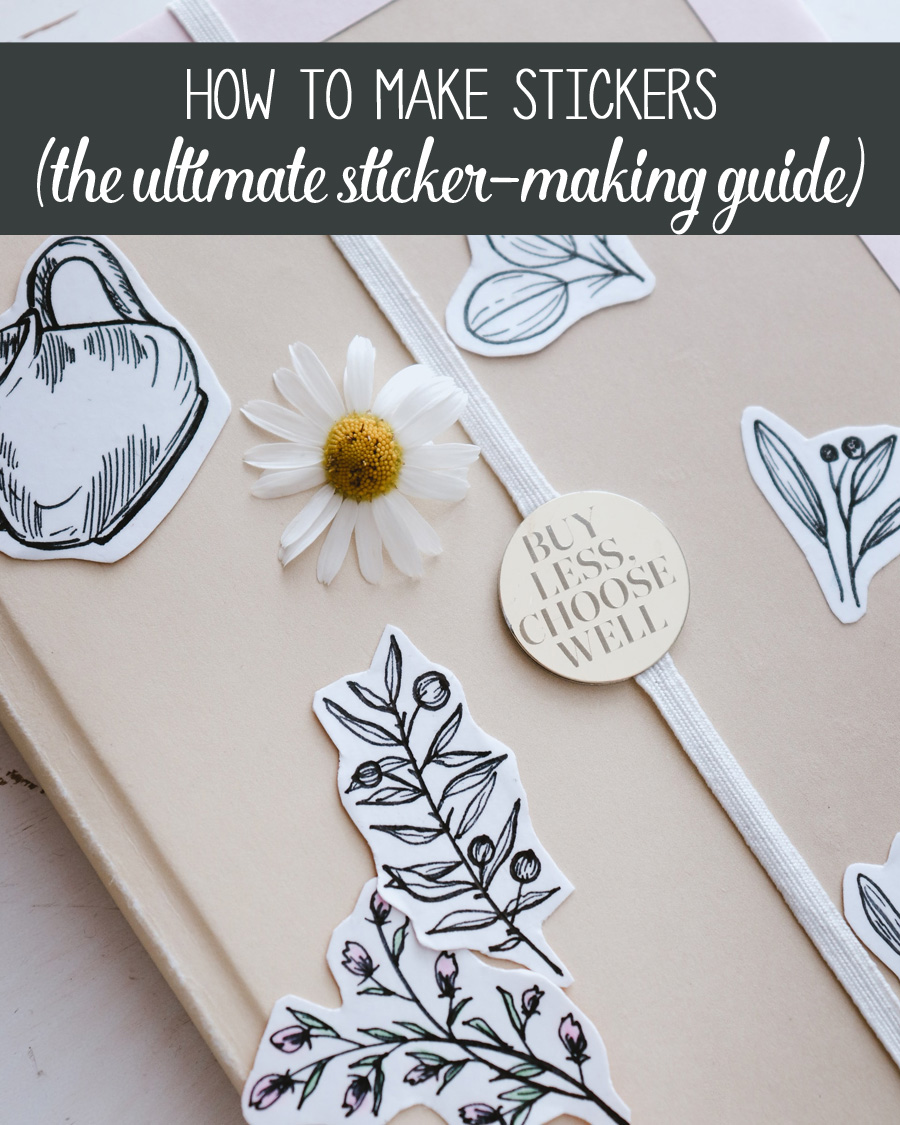
Introduction To Diy Stickers
DIY stickers offer a creative way to personalize items. Anyone can make them with simple materials. These custom designs bring a unique touch to belongings. Creating your own stickers can also be a fun activity for all ages. The process allows for endless creativity and the joy of crafting. Not only is this a budget-friendly hobby, but it also provides satisfaction from making something by hand.
By choosing to make your own stickers, you control the quality and appearance. You also avoid the cost of store-bought stickers. With this approach, the possibilities to customize designs are limitless. Kids especially find sticker making an entertaining and rewarding experience.

Credit: www.gosupps.com
Materials And Tools Required
For DIY stickers, various types of paper work well. Glossy, matte, and vinyl papers are popular choices. Each type gives your stickers a different look. Adhesives are key to making stickers stick. Use self-adhesive paper or spray-on adhesive for the back of your stickers. Printers and cutting tools shape your stickers. Inkjet printers are great for sticker printing. Use scissors or a craft cutter to cut out your designs. Decorative supplies enhance your stickers. Include markers, glitter, and colored pencils for personal touches.
Designing Your Stickers
Designing your own stickers starts with planning your sticker layout. Create a sketch to settle on size and shape. A clear layout is key before moving to digital design or drawing.
Embrace graphic design software to bring your stickers to life. Use programs like Adobe Illustrator or Canva. These tools provide templates and elements for vibrant, eye-catching stickers.
- Vector graphics work best for scaling your stickers.
- Choose bold colors and simple lines to keep things clear.
- Utilize layers for complex designs.
For hand-drawn sticker methods, start with good quality paper. Trace your designs lightly before final inking. Waterproof pens prevent smudging. Lastly, cut out the stickers with precision.
The Creation Process
DIY stickers add a personal touch to any project. Begin by selecting high-quality sticker paper and a reliable printer. Ensure the design has bold colors and clear outlines for best results. Print on a glossy or matte finish based on preference.
Next, cutting your stickers requires precision. Use a cutter or scissors for simple shapes. For complex designs, a craft cutting machine is ideal. Always cut slowly to maintain design integrity.
Lastly, applying the adhesive is a critical step. For homemade stickers, double-sided tape or glue can work. Some prefer self-adhesive sheets, simply stick the design on, and peel off when needed. Be sure to apply evenly to prevent bubbles or edges peeling up.
Finishing Touches
Laminating your DIY stickers enhances their durability. This process shields them from water, scratches, and tears. Simple at-home laminating sheets can be used. For extra protection, consider using a laminating machine. This step is vital for stickers that will be used outdoors.
To add a unique texture or visual interest, consider incorporating embellishments or textures into your design. Items like fine glitter, fabric cutouts, or thin foil can be applied. Always ensure they are firmly adhered to the sticker surface. These details give your stickers a professional and creative touch.
Tips And Tricks For Professional-looking Stickers
To create professional-looking DIY stickers, careful steps are essential. Ensure your printer settings are adjusted for best quality images. Use high-resolution designs to avoid blurry prints. Regular checks for ink levels and printer maintenance can also improve print quality.
For those eager to avoid common mistakes, remember to select the correct sticker paper type. Understanding your printer’s capabilities plays a crucial role in this process. Some printers work better with certain materials. Conduct small print tests before committing to larger quantities to save on materials.
Creative use of leftover materials can lead to unique sticker designs. Scraps can be turned into smaller, original pieces. This approach not only reduces waste but also encourages creativity. Experiment with different shapes and sizes to fully utilize every piece of your sticker sheet.
Application And Uses For Your Diy Stickers
DIY stickers add a personal touch to laptops, water bottles, and phone cases. Turn sketches and digital art into unique decals. These stickers can also customize notebooks and folders, leading to organized and stylish stationery.
Create special presents like custom mugs or t-shirts. Provide one-of-a-kind gifts featuring hand-made stickers. Artists and small business owners can craft branded packaging or promotional goods.
Educational stickers make learning fun for children. Teachers can use them to reward students or decorate classrooms. Parents may find them helpful in craft projects and home-school activities. Their versatility encourages creativity among kids.
Credit: www.burlapandblue.com
Preserving And Storing Your Stickers
To ensure your DIY stickers last, proper storage is key. Keep them in a cool, dry place. Exposure to sunlight and moisture can damage them. Store them flat to avoid bending or curling. Use plastic sleeves or sheets to protect them. These can prevent scratches and dust buildup. Consider labeling for easy identification. Sticker albums or binders are great for easy access and displaying.
| Storage Method | Benefits |
|---|---|
| Plastic Sleeves | Prevents Damage, Dust-Free |
| Binders | Organized, Easy to Browse |
| Dark, Dry Place | Prevents Fading, Longevity |
Conclusion: Unleashing Your Creativity
Creating DIY stickers is more than just a fun activity. It’s a way to express your creativity and make something unique. As you reflect on your sticker-making experience, celebrate your accomplishments. Each sticker you made started as a simple idea and blossomed into a vibrant piece of art.
Don’t stop here! Keep exploring different materials and designs. Experiment with colors, shapes, and sizes. Each design has its own charm. Your homemade stickers could brighten someone’s day or even become a handmade gift. Share your creations with friends and family and inspire others to try this fun project. Let your imagination soar—the possibilities are endless!
Frequently Asked Questions On How Do I Make Diy Stickers
What Materials Are Needed For Diy Stickers?
To make DIY stickers, you’ll need adhesive paper or vinyl, a printer, designs or drawings, scissors or a craft cutter, and optionally, a laminator for extra durability. These basic materials will help you create custom stickers at home.
Can I Create Waterproof Diy Stickers At Home?
Yes, you can create waterproof DIY stickers at home. You’ll need to use waterproof vinyl sticker paper and a laminator or clear packing tape to seal the printed design, protecting it from water and wear.
How To Print And Cut Custom Sticker Designs?
Print your sticker designs using a high-quality printer and sticker paper. Then, cut out the stickers using scissors, a precision craft knife, or a cutting machine for intricate designs, ensuring smooth edges and accurate shapes.
Is A Special Printer Needed For Sticker Printing?
No special printer is required; most inkjet and laser printers can print on sticker paper. However, for a professional finish and durability, using a high-quality printer and ink is recommended.
Conclusion
Crafting stickers at home is both an enjoyable and creative venture. By following the steps outlined, you’ll master the art of DIY sticker-making in no time. Remember, with the right materials and a bit of practice, personalized stickers are just a fun afternoon away.