
To apply stick-on nail designs, start by cleaning your nails and selecting the correct size. Peel off the backing, align the sticker with your nail, and press it on firmly.
Embracing the trend of stick-on nail designs can transform your manicure routine into a hassle-free, creative experience. These pre-designed adhesives offer an array of stylish patterns and colors, fitting seamlessly into your busy lifestyle. Perfect for those seeking a quick beauty refresh or an intricate nail art look without the time commitment, stick-on nails provide a salon-quality finish in minutes.
Their convenience and affordability have made them a popular choice among beauty enthusiasts. As you delve into the world of stick-on nails, you’ll discover just how effortless achieving a professional manicure at home can be, adding an instant touch of glamour to your appearance.
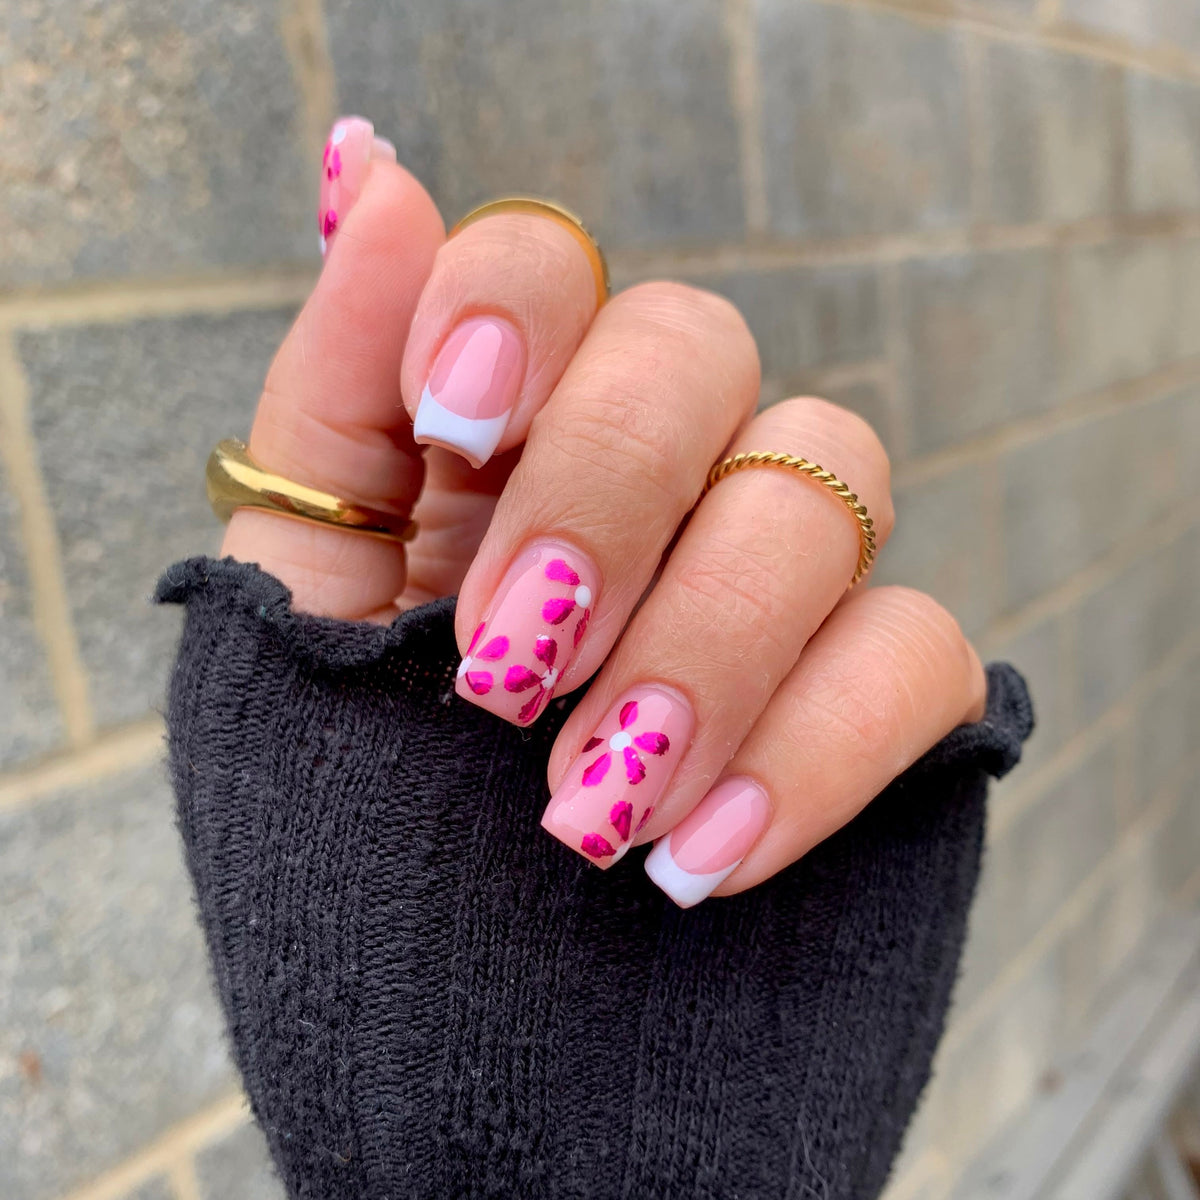
Credit: mylee.co.uk
Introduction To Stick On Nail Designs
Welcome to the vibrant world of stick-on nail designs, a beauty trend that’s taking the fashion scene by storm. Think of it as your personal nail salon, neatly packaged into adhesive, creative nail art that you can apply in the comfort of your home. Easy, efficient, and oh so stylish!
Popularity In Nail Art
Stick-on nail designs are not just a fad; they’re a revolution in nail art. Their simple application and stunning results have earned them a loyal following. With endless options at your fingertips, going chic with your nails has never been easier.
Benefits Of Using Stick-ons
- Time-saving: Skip the nail salon queue!
- Versatile designs: Match your nails with any outfit.
- Damage-free: No more harmful chemicals on your nails.
- Cost-effective: A fraction of the salon price.

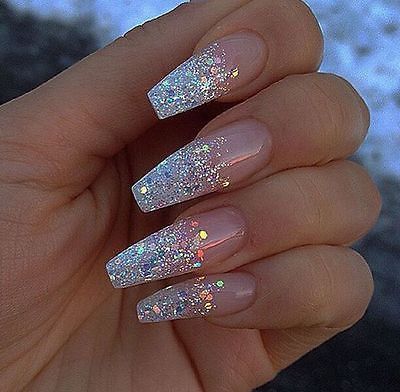
Credit: www.pinterest.com
Materials Needed For Stick-on Nails
Ready to dazzle with DIY glamour? Applying stick-on nails transforms your look within minutes. First, gather all the necessary materials. With the right items in hand, you’ll find the process straight forward and fun!
Types Of Stick-on Nails
- Press-on Nails: Pre-painted and shaped nails that press onto your natural nails.
- Nail Wraps: Thin stickers that wrap around your nails.
- Nail Stickers: Small decals for intricate designs or accents.
Essential Tools For Application
- Nail File: Shapes the nail and removes rough edges.
- Nail Buffer: Smooths the nail surface for better adhesion.
- Cuticle Stick: Gently pushes back the cuticle.
- Nail Glue: Secures press-ons for longer wear.
- Nail Scissors: Trims the nails or nail wraps to size.
- Top Coat: Seals the design for extra shine and durability.
Preparing Your Natural Nails
Flaunting stunning stick-on nail designs starts with the foundation—your natural nails. Proper preparation ensures these beauties adhere better and dazzle longer. To help you achieve a lasting impression, follow these essential steps before application.
Cleaning And Buffing
Begin with clean, oil-free nails for the best adhesion. Here’s a quick guide:
- Wash hands with soap and water to remove dirt and oil.
- Dry hands thoroughly with a clean towel.
- Use a cotton pad soaked in nail polish remover to eliminate residual oils.
Next, focus on creating a smooth canvas:
- Gently buff the nail surface to remove ridges.
- Wipe away dust with alcohol or a polish remover pad.
- Ensure nails are dry and smooth before proceeding.
Tips For A Long-lasting Hold
Maximize the lifespan of your stick-on nails with these tips:
- Avoid soaking nails before application.
- Trim and file nails to create a uniform shape.
- Push back cuticles for a larger adhesive surface area.
- Apply a base coat if desired to protect the natural nail.
- Choose the correct nail size for each finger for a secure fit.
- Press firmly and hold for a few seconds to ensure a tight bond.
Step-by-step Application
Ready to transform your nails with ease? Stick-on nail designs offer a quick, fun way to get a flawless manicure. No need for drying time or salon appointments. Follow these simple steps, and you’ll be turning heads with your gorgeous nails in no time!
Choosing The Right Size
First things first, selecting the right size for your nails is crucial. Here’s how to nail it:
- Match the strips: Hold the stick-on designs against your nails. Find the perfect fit for each nail.
- Consider the shape: Look at your nail’s curvature and length. Pick designs that align well.
- Prep work: Clean your nails. Dry them. This helps the stickers stick better.
Application Technique
With the right sizes picked out, let’s get sticking. Follow this technique:
- Peel with care: Gently peel the design off the backing.
- Place it on: Align the design with your cuticle line.
- Press down: Start in the center. Press towards the edges. Seal it smoothly.
- File away: Use a nail file. Remove the excess material.
Avoiding Air Bubbles
Achieving a smooth, bubble-free application isn’t magic, it’s technique:
- Slow and steady: Place the stickers slowly. Smooth out as you go.
- No stretching: Stretching can cause bubbles. Just press firmly.
- Use a tool: A rubber cuticle pusher can help. Use it to smooth out any bubbles.
Patience and precision turn stick-on designs into stunning, professional-looking nails. Enjoy your beautiful, hassle-free manicure!
Finishing Touches
Applying stick-on nail designs transforms your nails into works of art. But to ensure they look professional and stay on, focus on the finishing touches. These final steps are crucial. They turn a good nail application into a great one. From sealing the edges to file for perfection, let’s make those nails shine!
Sealing The Edges
First up, protect your stunning nail design by sealing the edges. Sealing helps the stick-on adhere better and last longer. Apply a clear top coat around the edges of each nail. Make sure you cover the tip too. This creates a barrier that defends against chips and peels. Allow the top coat to dry completely for maximum protection.
File For Perfection
Next, smooth out any uneven edges. Use a gentle nail file in a downward motion. This step gives your nails a flawless finish. Remember not to file too harshly. It can weaken the seal and shorten the life of your stick-ons.
Caring For Your Stick-ons
- Avoid soaking nails in water for long periods.
- Wear gloves when cleaning or doing dishes.
- Apply hand cream regularly to keep your skin and cuticles healthy.
- Resist the urge to peel your stick-ons. Use a gentle remover instead.
Take care of your nails, and your stick-on designs will stay bright and beautiful for weeks. Enjoy flaunting your fabulous fingertips with confidence!
Removal And Aftercare
The beauty of stick-on nail designs lies not only in their dazzle but also in their simple removal process. Proper removal and aftercare are essential for keeping your natural nails healthy and ready for your next stunning manicure. Let’s dive into the best practices for taking off those chic nails while keeping your nail beds in top shape.
Gentle Removal Tips
Peeling off your nail designs in a haste can damage your nails. Follow these steps for a gentle removal:
- Soak nails in warm soapy water for 10-15 minutes to loosen adhesive.
- Use a wooden stick to lift edges gently. Avoid metal tools.
- If resistance occurs, re-soak nails until the design slides off.
Maintaining Natural Nail Health
After the nail designs come off, caring for your natural nails keeps them strong. Here’s how:
| Step | Action | Benefit |
|---|---|---|
| 1 | Moisturize | Prevents dryness and brittleness |
| 2 | Oil cuticles | Encourages healthy growth |
| 3 | File gently | Smoothens nail edges |
Nourish with a fortifying nail cream. Rest nails before the next application. Trim and file periodically to keep them in shape.

Credit: www.amazon.com
Frequently Asked Questions Of How To Apply Stick On Nail Designs
How Do You Apply Nail Sticks?
Start by cleaning your nails and pushing back cuticles. Choose the correct size nail stick for each nail. Align the nail stick with your cuticle and press down firmly. Smooth out any bubbles or wrinkles. Seal with a top coat for lasting wear.
How Do You Stick Art To Your Nails?
Clean your nails and apply a base coat. Let it dry. Place the art on your nail, press down gently. Seal it with a clear top coat. Allow ample drying time.
How Do You Apply Paper Nail Decals?
Trim the decal to fit your nail. Soak it in water for 15-20 seconds. Slide the decal off its backing. Place it on your nail. Gently pat it dry.
How Do I Keep My Nail Stickers From Falling Off?
Start with clean, dry nails. Apply a base coat before stickers. Press stickers firmly in place. Seal with a top coat. Avoid water for a few hours after application.
Conclusion
Dressing up your nails with stick-on designs is a snap! Just remember proper application is key for long-lasting results. Show off your creativity and switch up your look with ease. Ready, set, flaunt those trendy tips! Keep your nail game strong with these simple stick-on strategies.