
To carve designs in small sticks, use a sharp knife and apply gentle, controlled cuts. Start by sketching a simple pattern onto the stick.
Carving designs into small sticks is a form of artful woodworking that adds a personal touch to crafts and decorations. It requires precision and patience, along with the right tools, such as a carving knife or whittling tools. Beginners should select softer woods and start with elementary patterns before progressing to intricate designs.
Detailed work on small sticks calls for a steady hand and concentration, as it involves removing small shavings of wood to create a design. Remember to keep the carving tools sharp for clean cuts, and master the basic cutting techniques like the push cut or pull cut to achieve your desired patterns. Whether you’re aiming to create textured grips, ornamental objects, or even miniature sculptures, small stick carving can be both a rewarding hobby and a way to personalize wooden items.

Credit: m.youtube.com
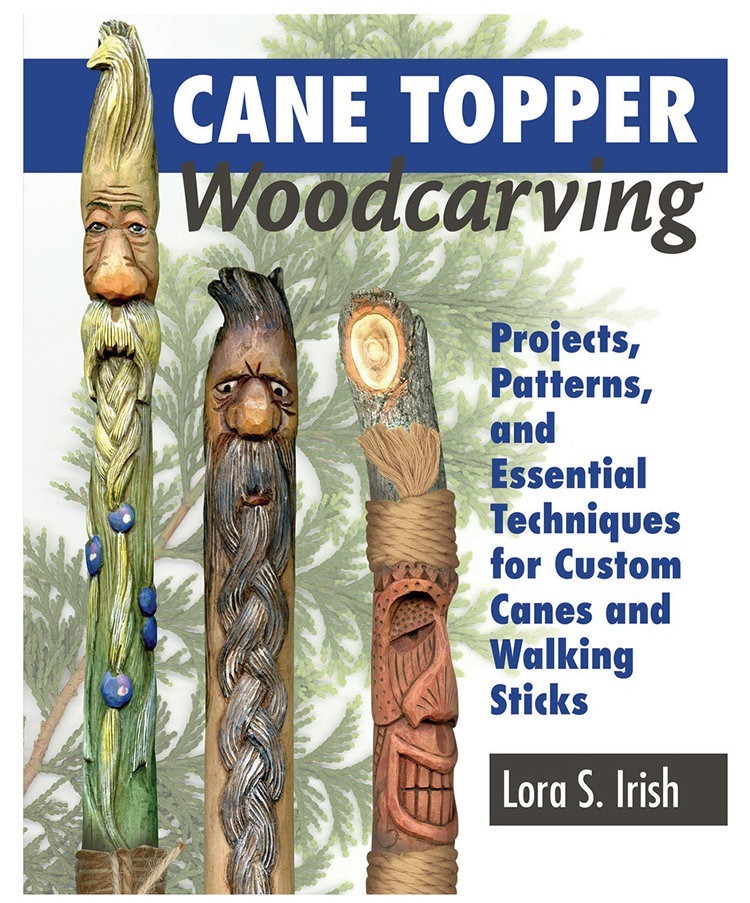
The Art Of Small Stick Carving
Welcome to the enchanting world of small stick carving, a craft that transforms simple twigs into intricate works of art. Channeling patience and precision, artists carve delicate designs into these miniature canvases, creating pieces that captivate the imagination.
Origins And Popularity
Small stick carving is a traditional art form with roots in indigenous cultures around the world. Early humans carved sticks to mark trails, designate sacred spaces, and embellish tools and weapons. Over time, this utilitarian practice evolved into a popular hobby.
- Cultural significance: Each culture adds its unique touch.
- Evolution of tools: From basic knives to precision instruments.
- Modern revival: Renewed interest in handmade artistry.
Contemporary Applications
Today, small stick carving has found its place in a variety of contexts. Artists and hobbyists alike embrace the medium, creating everything from practical objects to purely decorative masterpieces.
- Customized gifts like jewelry and ornaments.
- Educational tools that encourage fine motor skills.
- Unique sculpture displays for galleries and exhibits.
Selecting The Perfect Stick
Finding the ideal stick is the first step in your wood carving adventure. A perfect stick acts as a canvas for your creativity. It must be sturdy, yet malleable, and free of defects. Your chosen stick will define the ease and success of carving your designs:
Wood Types And Characteristics
Different woods have unique properties. Let’s discuss the best types of wood for carving small sticks:
- Basswood: Soft and easy to carve. Ideal for beginners.
- Pine: Soft with a visible grain. Good for practice.
- Walnut: Harder wood. Gives a polished finish.
- Cherry: Medium hardness. Shows beautiful grain.
Select a wood type that matches your skill level and the detail of your design.
Sourcing And Sustainability
Choosing wood from ethical sources is vital:
- Look for sticks on the ground in your local woods.
- Use branches from yard trimmings.
- Never harm living trees for your art.
- Check for certified sustainable wood at craft stores.
Respect nature. Always consider the environment in your wood carving process.
Tools Of The Trade
Getting started with carving designs into small sticks requires the right set of tools. Without them, achieving intricate details and precision is nearly impossible. This section will guide you through the essential instruments needed to turn your wooden sticks into artful masterpieces.
Essential Carving Knives
To carve small sticks properly, a set of specialized knives is crucial. These knives vary in shape and size, each serving a unique purpose. The must-have knives include:
- Chip carving knife: Perfect for making small, precise cuts.
- Detail knife: Allows for intricate work and fine details.
- Whittling knife: Best for rough shaping and removing chunks of wood.
- Gouges: U-shaped tools to create curves and hollows.
Quality matters, so invest in high-carbon steel blades that maintain a sharp edge.
Other Useful Instruments
Beyond knives, several additional tools will enhance your carving experience:
| Instrument | Use |
|---|---|
| Carving glove | Protects hands from slips. |
| Sharpening stones | Keeps knives razor-sharp. |
| Chisels | For larger and flatter cuts. |
| Sanding tools | Smoothes the wood surface. |
Include safety gear like goggles and remember to work in a well-lit space. With these tools, your journey of stick carving can take on professional quality, leading to breathtaking results!
Designing Your Masterpiece
Carving designs in small sticks transforms ordinary wood into captivating works of art. Before the wood shavings start to fly, creating a beautiful and intricate design is key. This section guides you through sketching your ideas before bringing them to life on wood.
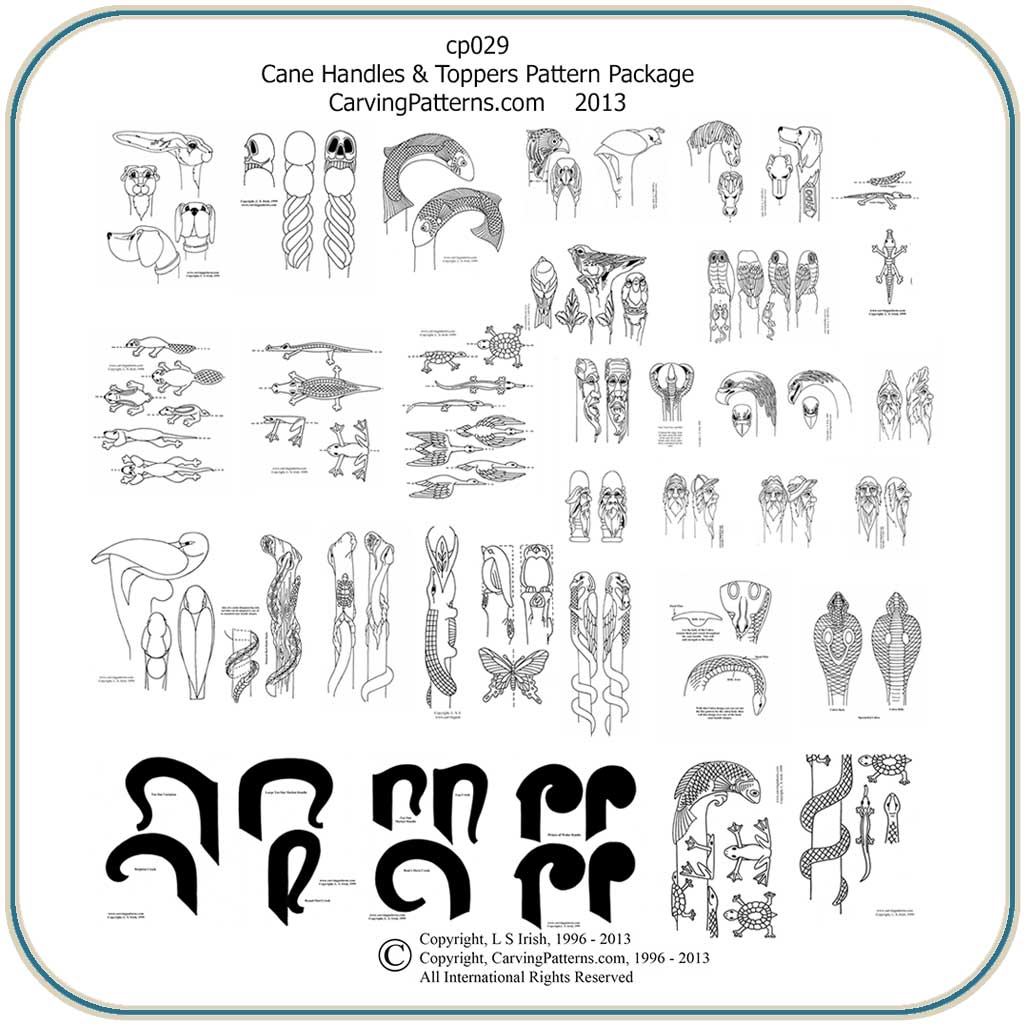
Sketching Ideas
Starting with a good sketch is crucial for your carving project. A clear, detailed drawing serves as a blueprint for your work.
- Choose a theme: Pick a simple pattern or an intricate image.
- Gather inspiration: Look at nature, books, or the internet for ideas.
- Use grid paper: It helps in maintaining the scale and symmetry of your design.
Practice sketching on paper several times. Ensure your final draft is exactly what you want on your stick.
Transferring Designs Onto Wood
With your sketch ready, it’s time to move the design onto the stick.
- Prepare the wood surface: Sand it until smooth.
- Trace your design: Use carbon paper to transfer the sketch.
- Finalize the outline: Go over the design with a pencil.
This step turns your concept into a clear pattern to follow during carving.
Carving Techniques And Tips
Mastering the art of carving small sticks opens a world of creativity. It’s a rewarding hobby that requires patience, precision, and the right techniques. Whether you’re a beginner or looking to refine your skills, these tips will guide you in adding intricate designs to your wooden pieces.
Basic Cutting Methods
- Choose the right knife: A sharp carving knife is essential.
- Secure the stick: Hold the stick firmly to prevent slipping.
- Carve with the grain: Always slice in the direction of the wood fibers.
- Control the depth: Start with shallow cuts and deepen gradually.
- Avoid forcing: Let the sharpness of the knife do the work.
- Use a glove: A carving glove can protect your hand.
Apply these basic cutting methods to achieve cleaner cuts and reduce the risk of injury.
Achieving Intricate Details
- Start simple: Practice with basic shapes before advancing.
- Sketch your design: Pencil a blueprint directly on the stick.
- Steady hands: Keep a firm grip for precision.
- Utilize different tools: Consider specialized chisels for fine work.
- Maintain your knife: Keep it sharpened for accurate cuts.
- Patience is key: Take your time with complex patterns.
- Finishing touches: Sand the stick for a smooth surface.
Implement these strategies to carve detailed designs and make your stick artworks stand out.
Note: Always practice safety and know your tools well before attempting intricate carvings.
Credit: artdesignsstudio.com
Finishing Touches
Once you’ve carved your small stick into a beautiful design, it’s important to give it finishing touches. These steps will ensure your masterpiece looks polished and lasts a long time. Let’s dive into sanding, smoothing, and sealing your carved stick.
Sanding And Smoothing
To begin with, sanding is crucial for a smooth surface. It removes rough edges and prepares the stick for sealing. Start with a coarse grit sandpaper and work your way up to a finer grit.
- Use 100-grit sandpaper to remove large burrs.
- Progress to 150-grit sandpaper for further smoothing.
- Finish with 220-grit sandpaper for a silky finish.
Remember to sand along the grain of the wood to avoid scratches. After sanding, wipe the stick with a soft cloth to remove dust.
Sealing And Protecting
Sealing is key to protect your carving from moisture and wear. Several options are available for sealing your stick.
| Sealant Type | Benefits |
|---|---|
| Linseed Oil | Enhances the wood’s natural color |
| Beeswax | Provides a natural matte finish |
| Acrylic Sealant | Durable and clear |
Apply your chosen sealant with a brush or cloth. Allow it to dry completely. A second coat may be necessary for extra protection. Check the product’s instructions for the correct drying time.
Inspiration For Future Projects
Embarking on a journey to carve designs into small sticks requires a spark of inspiration. From whimsical patterns to intricate motifs, every project begins with an idea. Let’s explore how different themes and community resources can ignite the creative flame for your next carving masterpiece.
Creative Themes And Patterns
Choosing a theme or pattern is your first step. Consider these options to inspire your next work:
- Nature-Inspired: Leaves, flowers, and wildlife.
- Abstract Designs: Geometric shapes and freeform lines.
- Cultural Symbols: Iconic patterns from around the world.
- Personal Memories: Depict scenes or elements from cherished experiences.
Use a sketchbook to draw your ideas before carving. This practice sharpens your vision and confidence in the design.
Community And Resources
Don’t overlook the wealth of knowledge available in carving communities. Engage with resources and groups that offer:
| Resource | Description |
|---|---|
| Forums | Online platforms where carvers share tips. |
| Workshops | Live events to learn and practice with others. |
| Books and Magazines | Printed guides rich with techniques and ideas. |
| Videos | Tutorials for visual learners. |
Stay connected to social media groups dedicated to carving. See what others create and share your own projects to inspire and be inspired.
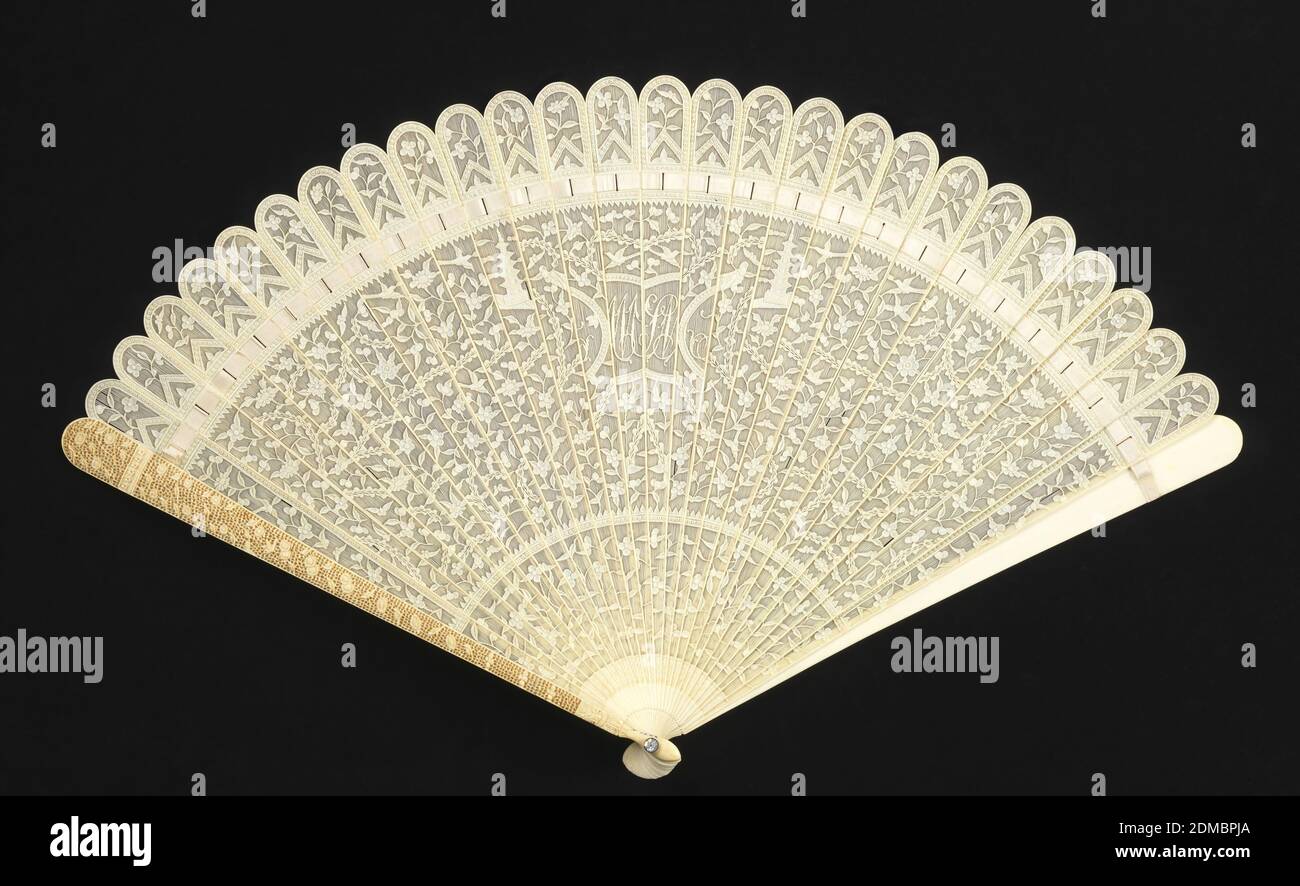
Credit: www.alamy.com
Frequently Asked Questions Of How To Carve Designs In Small Sticks
How Do You Carve Small Wooden Objects?
To carve small wooden objects, select the right tools like chisels and knives. Sketch your design onto the wood. Use a vise to securely hold your object. Carve along the grain for easier cutting and better results. Sand the piece smoothly after carving for a finished look.
What Is The Best Wood For Carving Small Details?
The best wood for carving small details is basswood, known for its fine grain and soft texture, making it ideal for intricate work.
How Do You Carve A Point On A Stick?
To carve a point on a stick, select a sharp knife and a sturdy stick. Hold the stick firmly and slice away from your body, shaving wood in thin layers. Rotate the stick gradually, maintaining consistent pressure to form an even point.
Always exercise caution to avoid injury.
What Is The Rule Of Three In Wood Carving?
The rule of three in wood carving is a guideline suggesting details should be carved at least three times to ensure depth and proper shadowing for a realistic appearance.
Conclusion
Mastering the art of small stick carving takes patience and practice, yet it’s deeply rewarding. By following the steps outlined, your craftsmanship can shine. Share photos of your projects online to inspire others. Keep honing your skills; each stick is a new canvas awaiting your creativity.
Happy carving!