

To design a sticker in Adobe Illustrator, start by creating a new document and selecting appropriate dimensions. Next, use vector shapes and tools to craft your design within the artboard.
Designing stickers in Adobe Illustrator allows for a creative and precise approach to producing eye-catching and professional-looking items for personal and commercial use. With Adobe Illustrator’s versatile toolkit, designers can easily transform ideas into tangible artwork ready for printing. This platform offers an array of customizable options, from shapes and colors to typography and effects, ensuring that each sticker design can be unique and tailored to specific requirements.
Perfect for both beginners and seasoned graphic artists, Illustrator’s user-friendly interface equips users to produce high-quality sticker designs with ease. Engaging with this software opens up countless possibilities for branding, marketing, and personal expression through custom sticker creation.
Starting Your Sticker Design Journey
Embarking on a creative endeavor like sticker design can be exhilarating. Adobe Illustrator is your go-to tool, acting as a catalyst for your imagination. With a wide array of functions, you can transform simple ideas into tangible art. Before diving into this colorful world, a grasp of basics ensures a smooth ride. Let’s uncover the steps to make your sticker pop!
Choosing The Right Adobe Illustrator Version
Select the Adobe Illustrator version that fits your needs. Various options exist, tailored to different skill levels and budgets. Consider these:
- Adobe Illustrator CC: For professionals seeking cutting-edge features
- Illustrator CS6: A good fit for those who prefer a one-time purchase model
- Illustrator Draw: Ideal for quick designs on mobile devices
Your choice lays the groundwork for all creations. Think about compatibility with your device and future needs before proceeding.
Essential Tools For Sticker Creation
Illustrator boasts diverse tools aiding in crafting the perfect sticker. Familiarize yourself with these essentials:
| Tool | Function |
|---|---|
| Pen Tool | Draws precise paths and shapes |
| Shape Tools | Creates geometric shapes fast |
| Brush Tool | Adds artistic strokes and effects |
| Pathfinder Panel | Combines and edits shapes |
| Text Tool | Includes text in your design |
With these tools, intricate designs become manageable. Each tool unlocks new potential in your sticker layout. Experiment with them to learn their capacities.
Setting Up Your Canvas
Before diving into the colorful world of sticker design, setting up your canvas correctly in Adobe Illustrator is crucial. This step ensures your stickers not only look stunning but are print-ready without any hiccups. Let’s walk through the fundamental stages of preparing your canvas for sticker creation.
Canvas Size And Resolution Basics
Choosing the right canvas size and resolution is your first step towards sticker perfection. Start by opening Illustrator and selecting ‘New’ to create your document. Here’s a simple guide:
- Size: Decide on the dimensions of your sticker. Standard sizes range from 2×2 inches to 12×12 inches.
- Units: Change the units to inches for easy printing.
- Resolution: Aim for 300 DPI (dots per inch) for high-quality prints.
In the ‘New Document’ dialog box, input these details to kickstart your design journey.
Organizing Layers For Efficiency
Layers are like the trusty toolbelt for any designer. They help keep your work tidy and manageable. Adobe Illustrator makes layer management a breeze. Follow these steps:
- Create layers: Use the Layers panel to create different layers for each part of your sticker.
- Name layers: A label like ‘Background’ or ‘Text’ helps you find elements quickly.
- Lock layers: Lock the background layer to avoid accidental moves.
With organized layers, editing each piece of your sticker becomes straightforward, saving you time and effort.
Design Elements And Principles
Creating stickers in Adobe Illustrator is exciting.
Good design blends art and functionality.
It catches the eye and conveys a message.
Here, we explore key design aspects for standout stickers.
Incorporating Color Theory
Colors speak before words.
They trigger emotions.
Selecting the right palette is crucial.
- Use complementary colors to create contrast.
- Choose analogous colors for harmony.
- Include triadic colors for dynamic looks.
Adobe Illustrator offers tools for perfect color schemes.
Text And Typography In Stickers
Words add meaning to your stickers.
Typography can make or break a design.
Follow these tips:
- Use clear, readable fonts.
- Balance font size with sticker scale.
- Limit font styles to avoid clutter.
Illustrator’s Type Tool helps you experiment effectively.
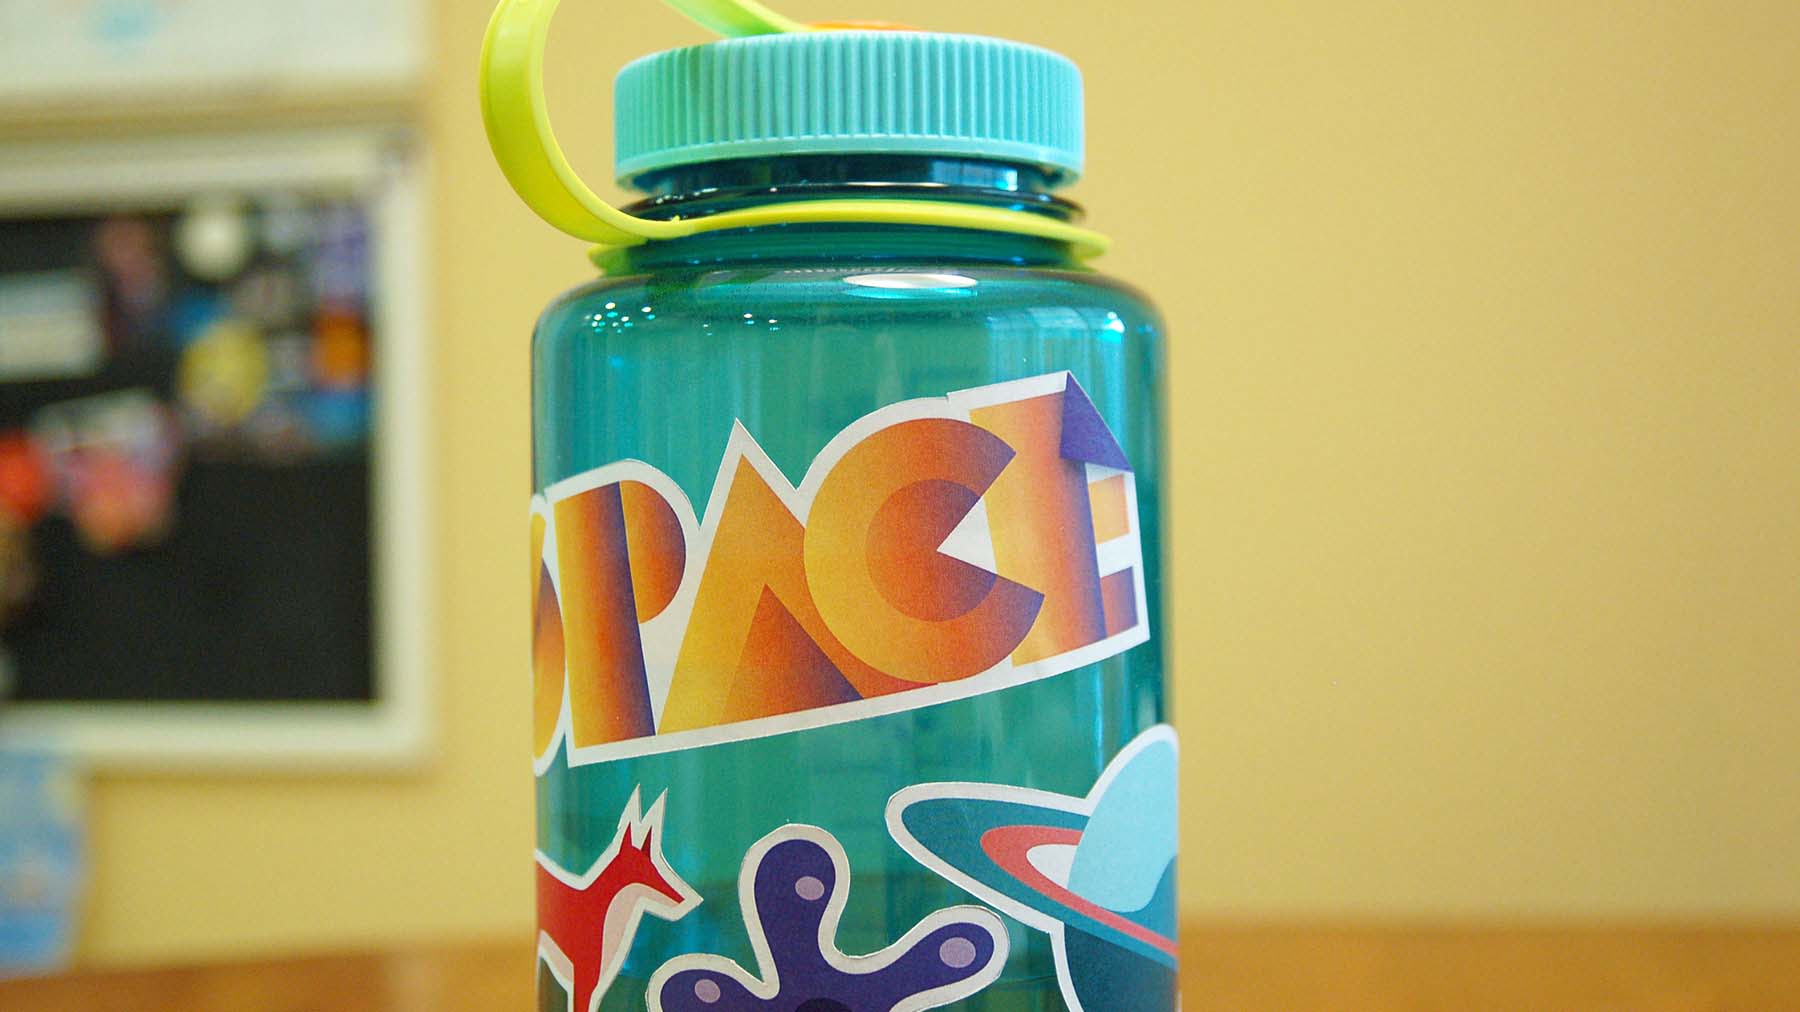
Using Symbols And Icons Effectively
Icons symbolize ideas at a glance.
The right graphic can tell a sticker’s story alone.
| Use Case | Icon Example | Effect |
|---|---|---|
| Call to Action | Arrow | Guides user’s focus |
| Brand Identity | Logo | Builds recognition |
| Information | Info “i” | Conveys details |
Illustrator offers a library of symbols and options to create custom icons.

Credit: m.youtube.com
Illustration Techniques For Stickers
Designing stickers in Adobe Illustrator can be a fun way to express creativity. Each sticker is a piece of art, and Illustrator offers tools to bring these tiny canvases to life. Grasp these essential illustration techniques, and soon, crafting custom stickers will be a breeze. Dive into the world of vectors and learn to manipulate shapes, add vibrant colors, and apply stunning textures.
Mastering The Pen And Brush Tools
The Pen tool is a versatile component in sticker design. Beginners often find it challenging but mastering it is supremely rewarding. Use it to draw precise paths and shapes. The Brush tool adds a freehand touch to designs, allowing for dynamic lines and strokes.
- Start with simple shapes to get comfortable.
- Practice creating curves and corners.
- Experiment with brush sizes and styles.
Creating And Managing Paths
Paths are the backbone of vector illustrations. Managing paths ensures designs are clean and scalable. Learn to join, trim, and align paths for professional results.
- Use the Direct Selection tool to edit points.
- Apply the Pathfinder panel to combine shapes.
- Organize paths in layers for easier editing.
Shading And Texture Tips
Shading and texture add depth to sticker designs. Simple tricks can create the illusion of complexity. Adobe Illustrator has options for gradients and textures that add life to stickers.
| Technique | Use |
|---|---|
| Gradient Tool | Create smooth transitions and shading. |
| Opacity Masks | Add texture without overwhelming detail. |
| Pattern Swatches | Apply consistent textures across the design. |
Finalizing And Exporting
Once your sticker design in Adobe Illustrator is complete, it’s time to finalize and export. This crucial phase transforms your creative work into a file ready for distribution, whether online or in print. Ensuring precision and compatibility in the final steps is key to a professional and usable sticker design.
Outline Stroke For Precision
To maintain the exact look of your design, outlining strokes is essential. It turns the stroke into a shape, ensuring it looks the same no matter where it’s printed or displayed. Here’s a simple guide:
- Select the text or shape with a stroke.
- Go to the top menu and choose Object > Path > Outline Stroke.
- Save your changes to keep the design consistent.
Choosing The Right File Format
Different file formats serve various purposes. Choose wisely for optimal results:
- For web use, go with PNG or JPEG
-
- Choose SVG for scalable vector graphics without quality loss
-
- Use EPS for high-res print materials
- AI is best for further editing in Illustrator
Preparing For Print Vs. Digital Use
Select your output specifics based on the final use:
| Attribute | Digital | |
|---|---|---|
| Color Mode | CMYK | RGB |
| Resolution | 300 DPI | 72 DPI |
| Bleed | Add if required by printer | Not necessary |
Review and adjust your Illustrator document settings under File > Document Setup before saving your final file.
Sharing Your Creations
After hours of crafting in Adobe Illustrator, you’ve designed an eye-catching sticker. Now, you’re ready to unveil it to the world. Let’s dive into the dos and don’ts of distributing your work digitally, and uncover ways to leave a lasting impression on social media. Boldly step forward into the spotlight; your sticker masterpiece awaits its audience!
Distributing Digitally: Do’s And Don’ts
Digital pathways can carry your sticker to screens around the globe. Keep these tips in mind:
- Do:
- Choose the right file format. PNG or JPEG works best for simple sharing.
- Check your sticker’s resolution. It should be at least 300 dpi for clear quality.
- Use online platforms that target your audience. Artists often prefer Etsy or DeviantArt.
- Don’t:
- Overlook copyright laws. Make sure your work does not infringe on others’ rights.
- Ignore file size guidelines. Large files can be slow to download and frustrating for fans.
- Forget to watermark your design, to protect it from being used without your permission.
Maximizing Impact On Social Media Platforms
To make a splash on social channels, remember these tactics:
- Tease your audience with sneak peeks. Use Instagram stories or Twitter fleets.
- Time your posts. Share your sticker when your followers are most active. Analytics tools can help here.
- Encourage sharing. Ask friends to re-post and include a catchy hashtag.
- Engage with your audience. Reply to comments and messages to build relationships.
Credit: helpx.adobe.com
Frequently Asked Questions On How To Design A Sticker Adobe Illustrator Tutorials
How Do I Make Stickers In Illustrator?
Open Adobe Illustrator and create a new document. Select the shape tool and design your sticker. Add colors and graphics as desired. Finally, add a stroke for the sticker border and save your design.
What Is The Best Adobe Program To Design Stickers?
The best Adobe program for designing stickers is Adobe Illustrator due to its superior vector graphics capabilities.
How To Make Your Own Sticker Designs?
To create your own sticker designs, choose a design software like Adobe Illustrator. Create a unique image or graphic, ensuring it fits standard sticker dimensions. Save your design in a print-ready format, such as PNG or PDF, then print it on adhesive paper and cut it out carefully.
How Do You Make An Outline For A Sticker In Illustrator?
Open your sticker design in Illustrator. Select the design, then go to the ‘Object’ menu. Choose ‘Path’ and click ‘Offset Path’. Adjust the offset to your desired outline thickness and click ‘OK’. Your sticker now has an outline.
Conclusion
Embarking on your sticker design journey in Adobe Illustrator is now within your reach. With the tips and techniques from our tutorials, creativity has no bounds. Remember, practice refines skills and unleashes potential. Create, adjust, and innovate—your stunning, custom stickers await.
Explore, design, and most importantly, have fun!